Previewing and Sending
This guide covers the final steps of previewing your document and sending it for signature.
-
Access the Preview
Once you’ve added recipients and placed all necessary fields:
- Look for the “Preview & Send” button in the right sidebar
- The button will be enabled when:
- At least one recipient is added
- The envelope has a title
-
Review Settings Before Sending
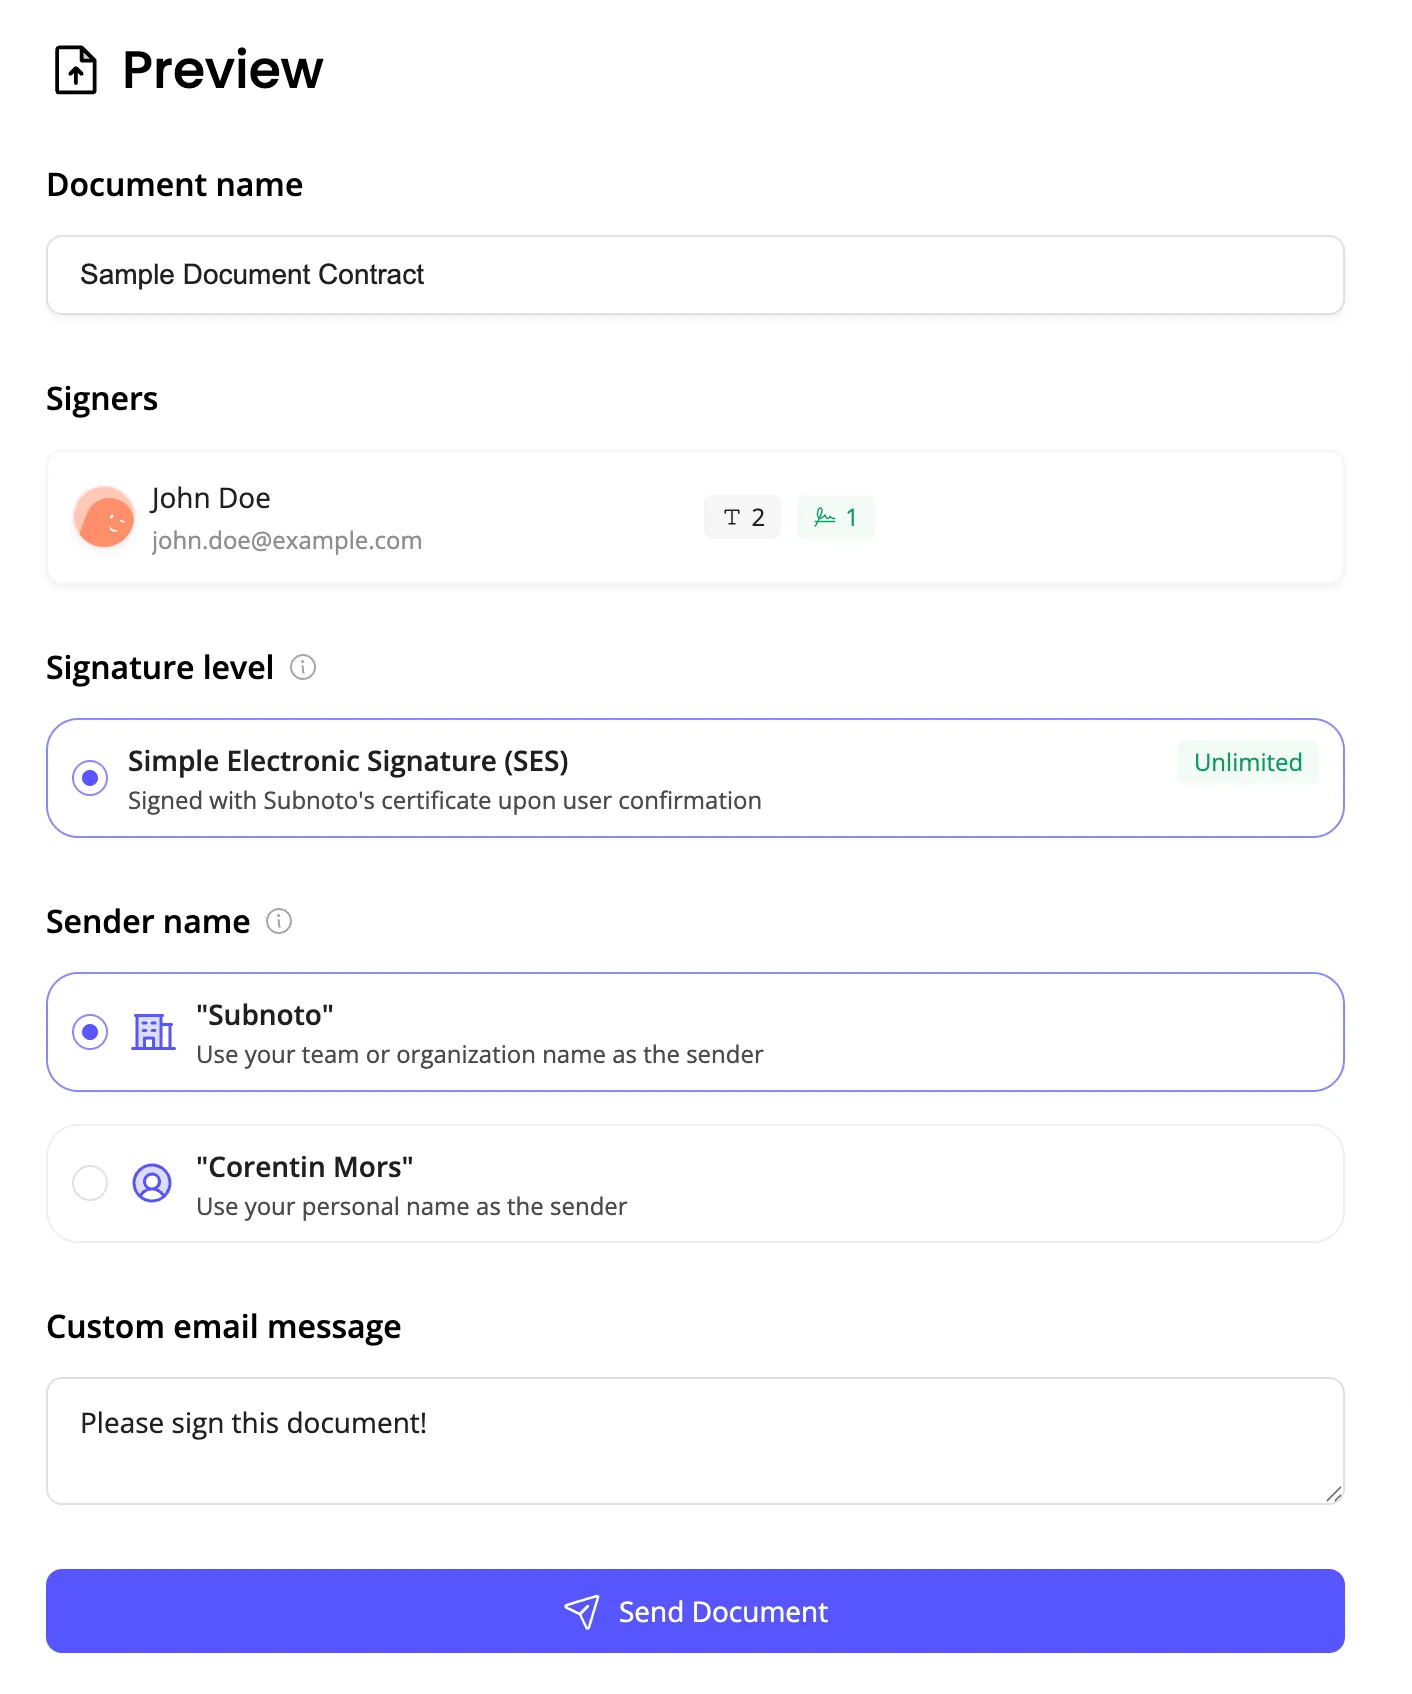
Click “Preview & Send” to open the preview modal where you can review and customize your envelope before sending.
Review Envelope Title
- The title is displayed at the top of the preview modal
- You can still edit it before sending if needed
Choose Sender Name Display
- You have two options for how your name appears to recipients:
- Use your personal name - inbox shows “John Smith via Subnoto” from
[email protected] - Use team name (default) - inbox shows “Acme Corporation via Subnoto” from
[email protected]
- Use your personal name - inbox shows “John Smith via Subnoto” from
- Toggle the checkbox to switch between options
- Replies go directly to your email address via Reply-To, not to Subnoto
Set Expiration Period
- Choose how many days recipients have to sign (e.g. 7, 14, 30, 60, or 90 days from the send date)
- After this period, the signature request expires: you receive an email notification and the request appears in the Expired column; recipients can still open the link but see a message that the request has expired. See Envelope Expiration for details.
Add a Custom Message (Optional)
- Add a personal message that will appear in the invitation email
- This appears as a quote in the email: “John Smith: ‘Please review and sign this agreement by Friday.’”
- Useful for adding context or urgency
Preview the Email
- See exactly what recipients will receive
- The preview shows the full email with:
- Subject line
- Sender information
- Document title
- Custom message (if added)
- Secure signature link button
-
Send the Envelope
When you’re ready:
- Review all information one final time
- Click the “Send Envelope” button
- A confirmation will appear
- You’ll be redirected to the envelope view page
-
What Recipients Receive
Each recipient will receive an email containing:
- Subject: includes the sender name and document title (for example, “John Smith invites you to sign a document”)
- From: “[Your name or team name] via Subnoto” from
[email protected] - Reply-To: your email address, so recipients can reply to you directly
- Body: Professional email with:
- Sender information
- Document title
- Custom message (if included)
- Secure link to view and sign the document
- “Sent via Subnoto” in the footer
- Action Button: “Sign the Document”
After Sending
Section titled “After Sending”Once you’ve sent the envelope:
- You’ll be redirected to the envelope view page
- The envelope status will show “Pending” or “In Progress”
- You can track progress in the Envelopes section
- Recipients will receive email notifications
Troubleshooting Send Issues
Section titled “Troubleshooting Send Issues”Requirements:
- At least one recipient must be added
- The envelope must have a title
- Check that you’ve completed both of these
Troubleshooting:
- Ask recipient to check spam/junk folder
- Verify the email address is correct
- Wait a few minutes for email delivery
- Check the envelope status to confirm it was sent
Important: Once sent, the document cannot be edited to maintain security and integrity.
If changes are needed:
- Create a new envelope with the updated document
- You can delete the original envelope if it hasn’t been signed
- Consider using templates for frequently updated documents
Options:
- If no one has signed yet, you can delete the envelope
- If some have signed, you may need to contact us
- Consider the legal implications of canceling signed documents
Next Steps
Section titled “Next Steps”After sending your document:
- Track Completion - Monitor the signing process
- Envelope Expiration - Understand deadlines and what happens when a request expires
- Download Signed Documents - Access completed documents
- Review Audit Trail - Check the complete signing history
Document sent successfully! Monitor progress with Tracking Completion.