Skip to content

Placing Signature Fields

This guide covers how to add signature fields and other interactive elements to your documents.

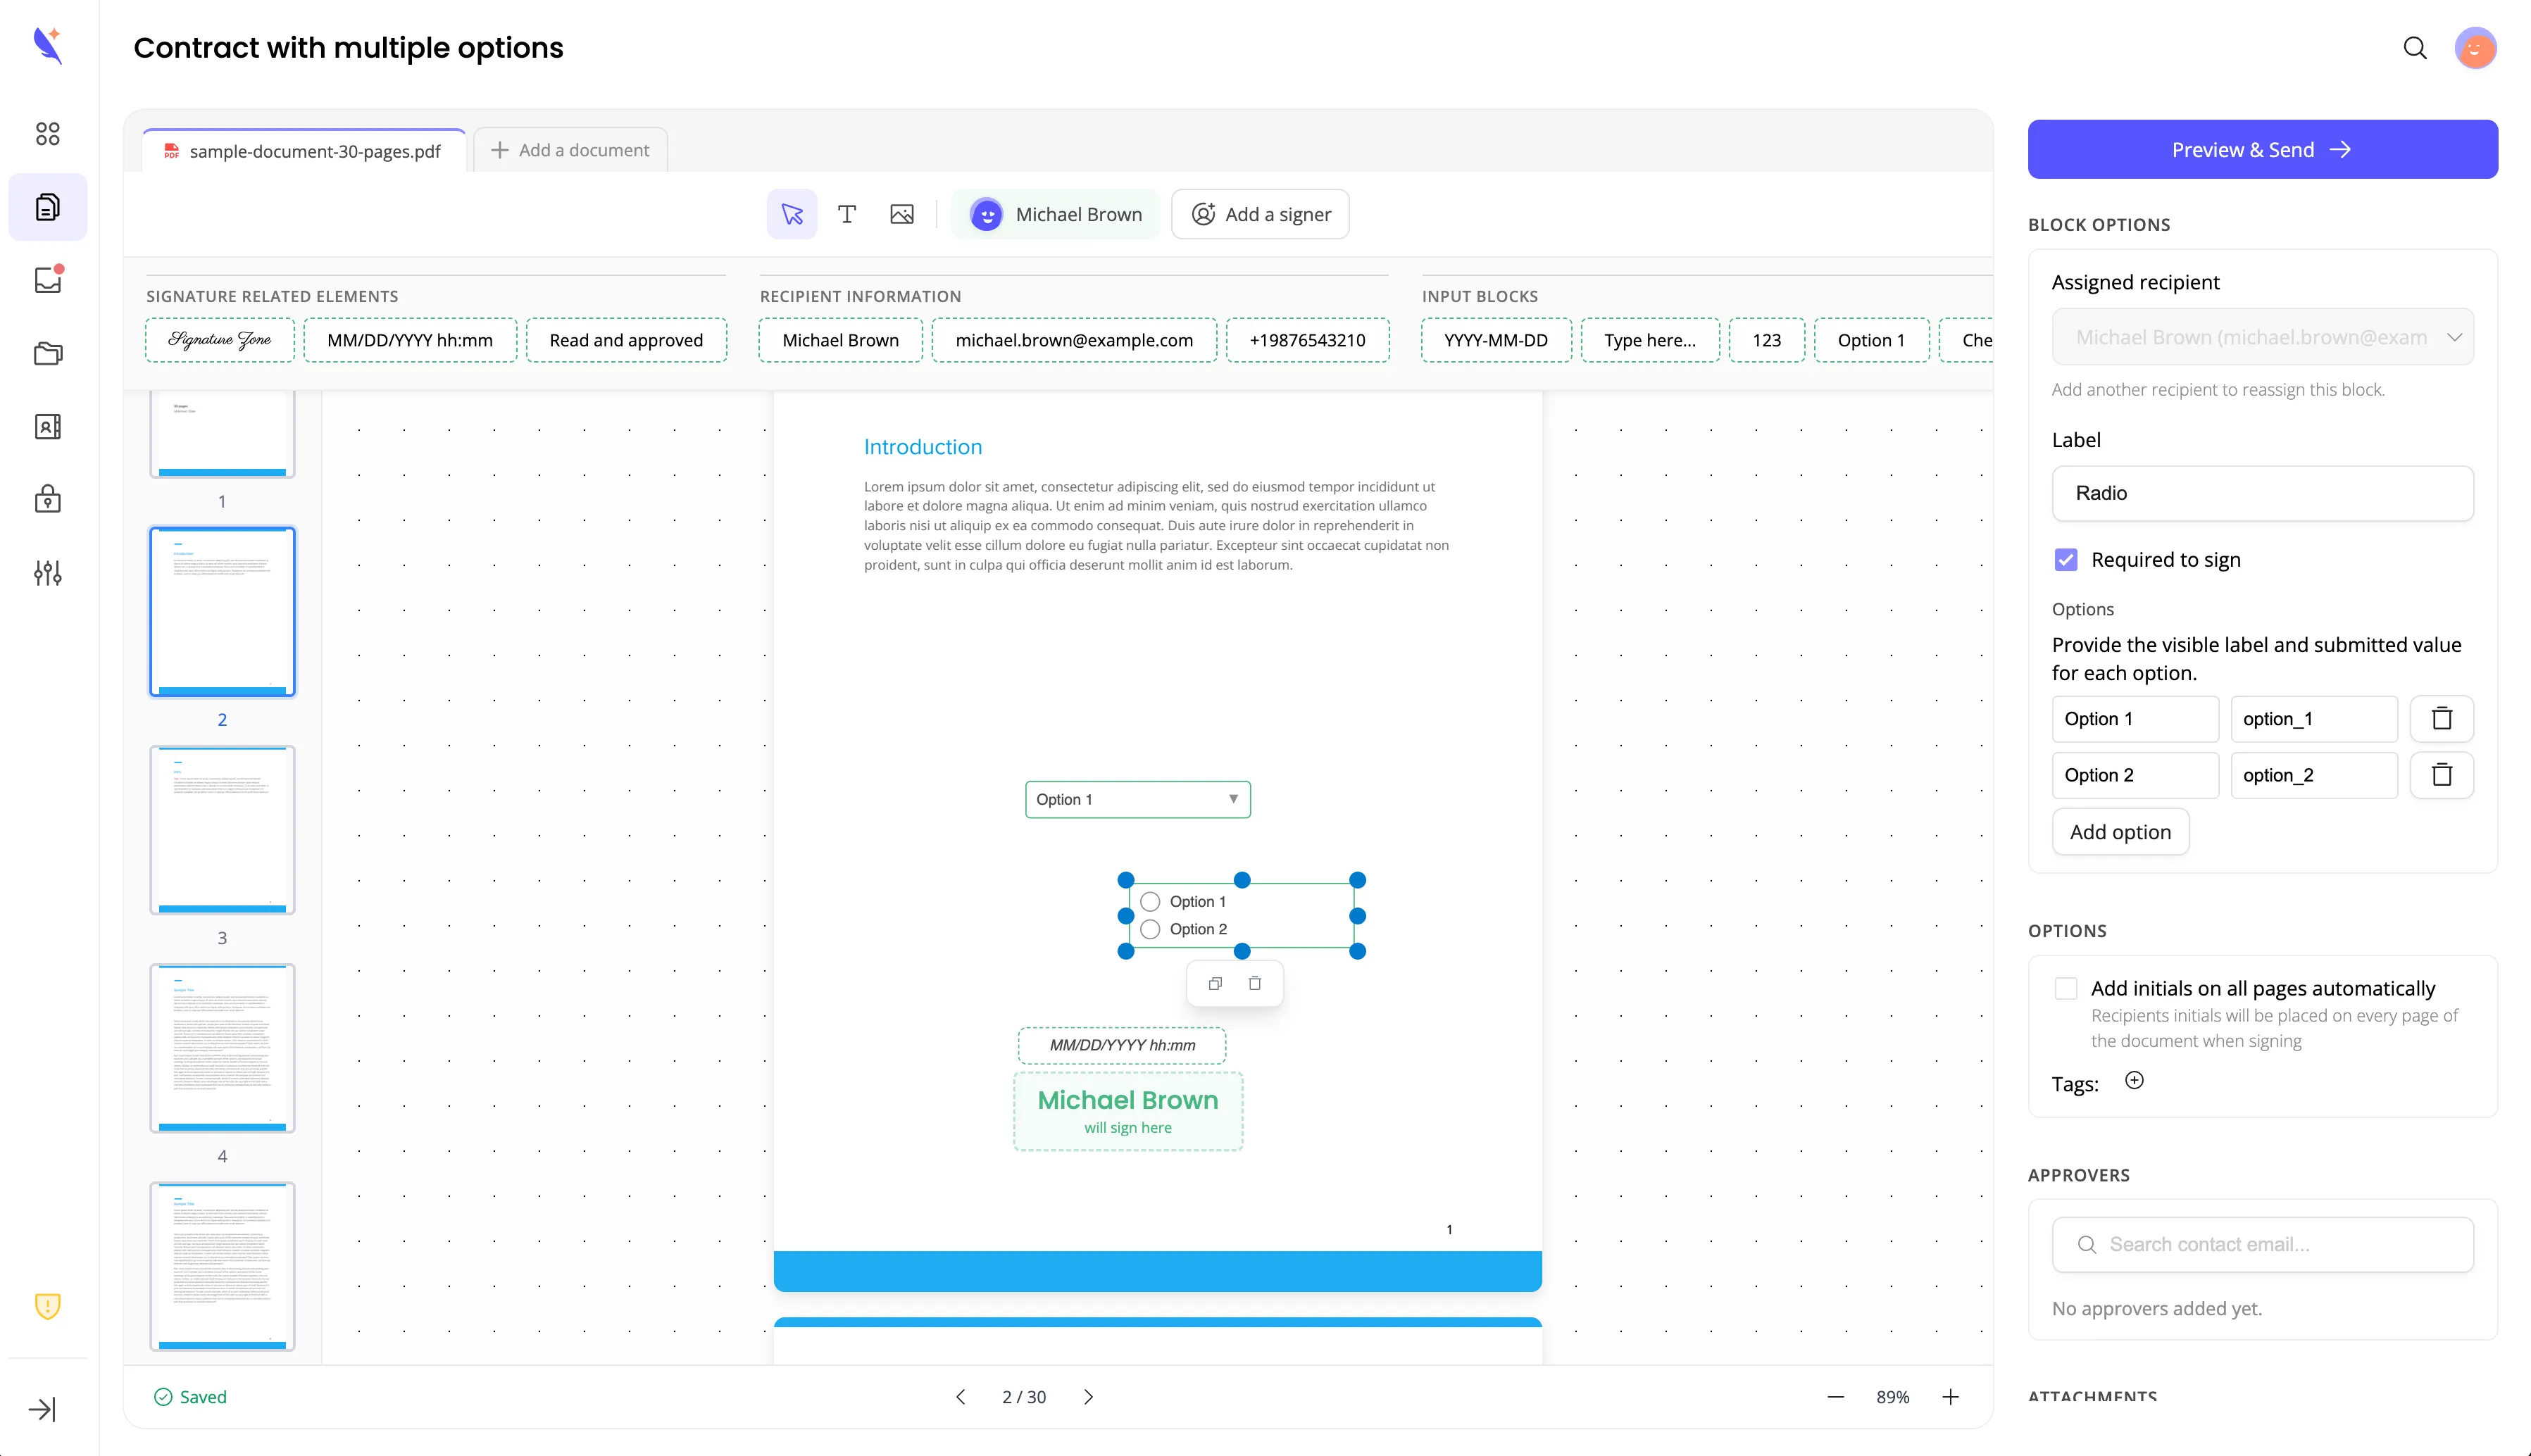
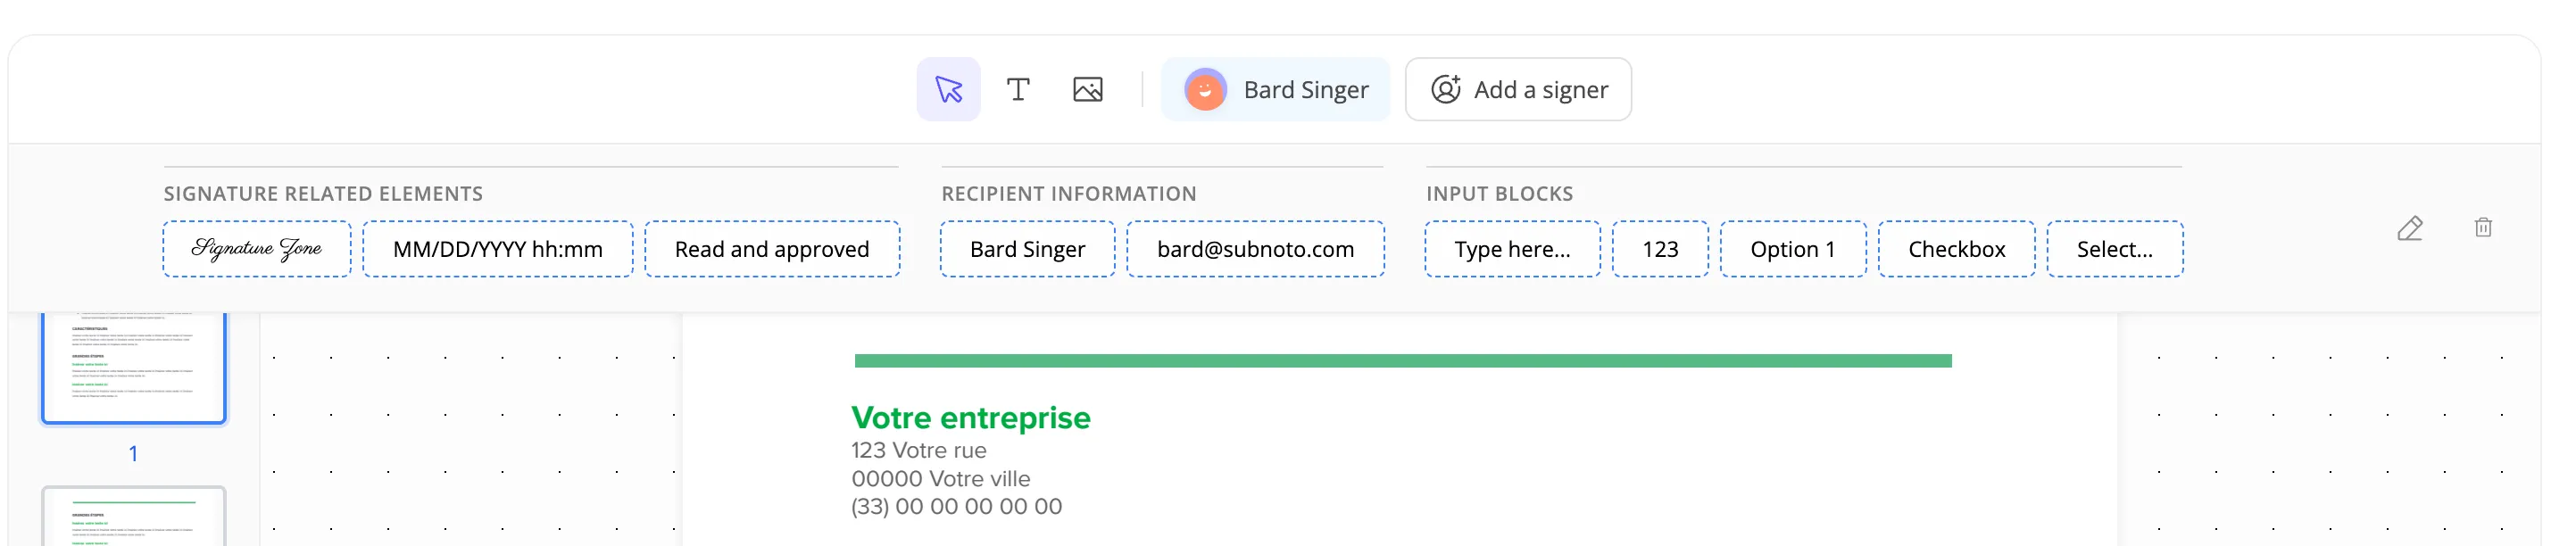
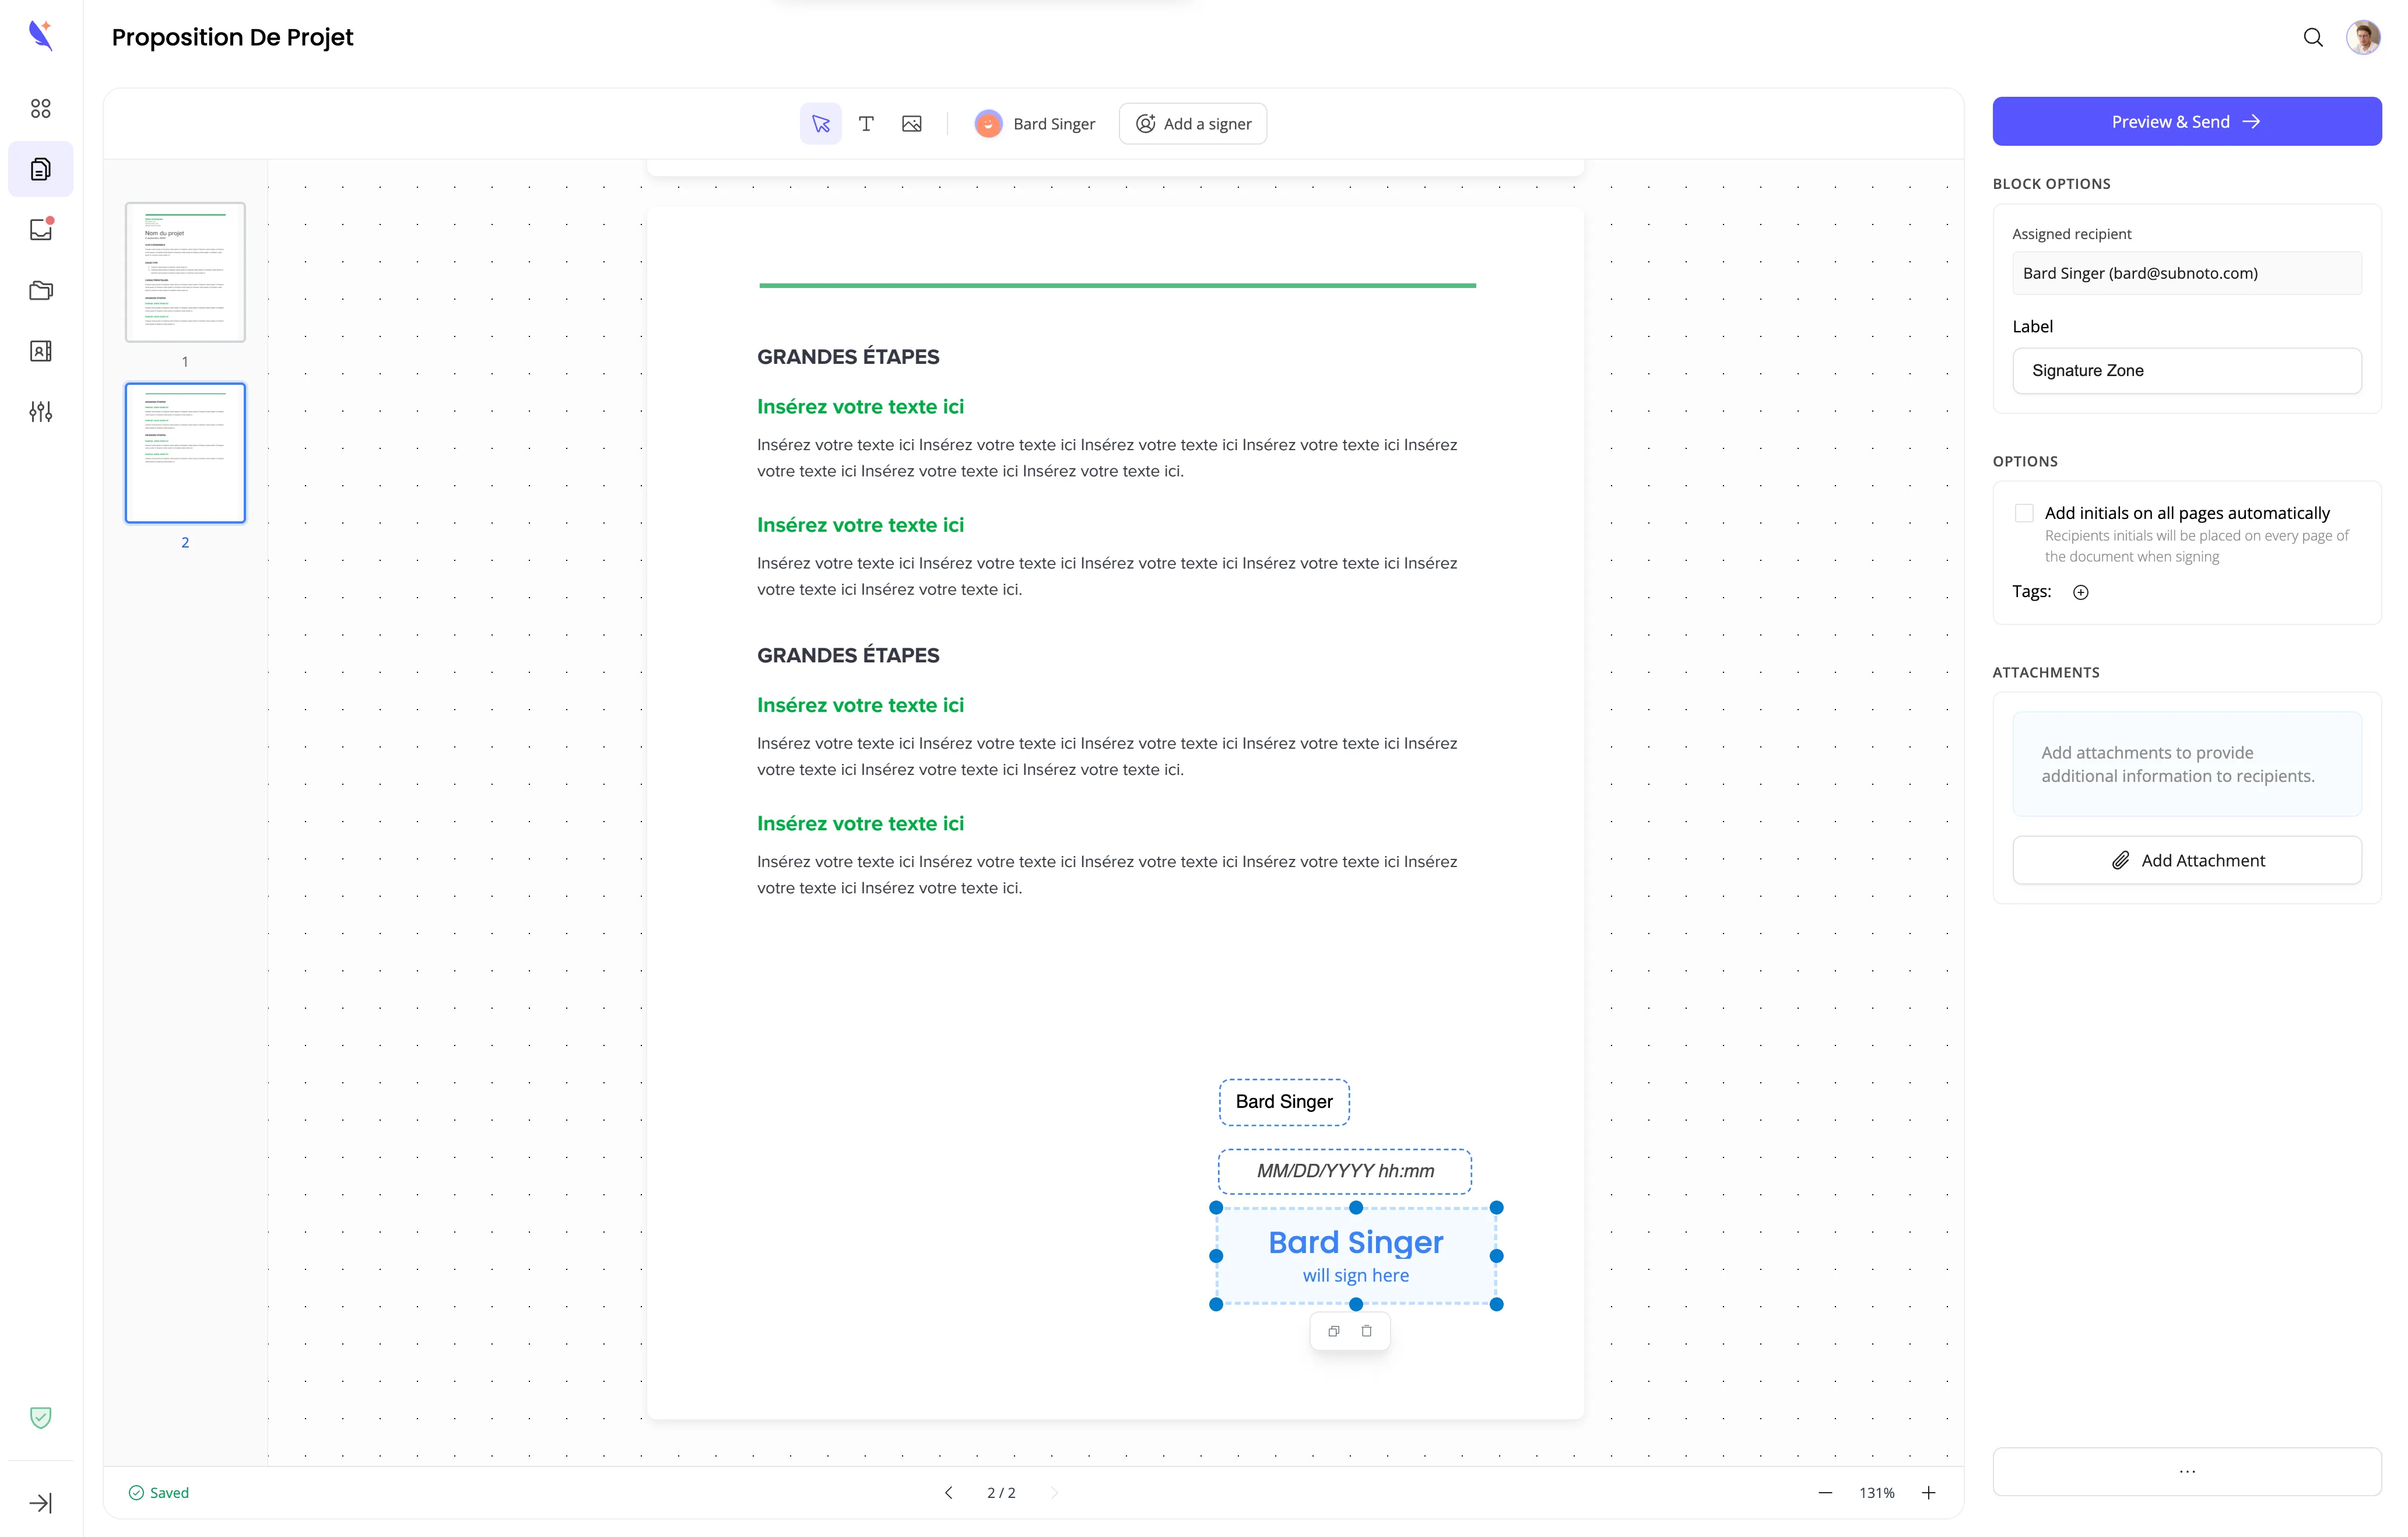
Signature zones are the areas where recipients will interact with the document. Each field is color-coded to match the recipient who needs to complete it.

Subnoto offers several field types:

  • Signature - Where recipients draw or type their signature
  • Full Name - Auto-fills the recipient’s full name
  • Email - Auto-fills the recipient’s email address
  • Phone - For entering phone numbers
  • Text - For any custom text input
  1. In the floating toolbar, you’ll see avatars for each recipient
  2. Click on the recipient’s avatar whose field you want to place
  3. The avatar will highlight, indicating you’re in “placement mode”
  1. Click the dropdown next to the recipient’s name (if available)
  2. Select the type of field you want to place:
    • Signature (default)
    • Full Name
    • Email
    • Phone
    • Text

Field Type Selection Menu

Fields Available to Drag

  1. Your cursor will change to indicate placement mode
  2. Navigate to the page where you want the field
  3. Click on the document at the exact location where you want the field
  4. The field will appear, color-coded to match the recipient

Fields Placed on Document

  1. Click on the field to select it
  2. Drag the corners or edges to resize
  3. Make sure the field is large enough for a signature
  1. Click and hold on the field
  2. Drag it to a new location
  3. Release to place
  1. Click on the field to select it
  2. Press the Delete key or click the delete icon
  3. The field will be removed
  • Color Coding: Each recipient’s fields match their assigned color
  • Labels: Fields show the recipient’s name and field type
  • Auto-Save: Changes are automatically saved every few seconds
  • Save Indicator: A checkmark appears when changes are saved
  • Most commonly used field type
  • Recipients can draw their signature or type it
  • Should be placed on signature lines in the document
  • Make sure they’re large enough for comfortable signing
  • Automatically fills with the recipient’s full name
  • Useful for contracts and formal documents
  • Can be placed anywhere text is needed
  • Automatically fills with the recipient’s email address
  • Useful for contact information sections
  • Ensures accurate email capture
  • For collecting phone numbers
  • Useful in contact forms or emergency contact sections
  • Recipients can enter their preferred phone number
  • For any custom text input
  • Useful for comments, notes, or additional information
  • Can be used for any text that needs to be filled in
  • Signature fields on signature lines
  • Full name fields above signatures
  • Date fields for signing dates
  • Text fields for any additional information
  • Text fields for fillable information
  • Signature fields at the bottom
  • Email and phone fields in contact sections
  • Signature fields for all parties
  • Full name fields for identification
  • Text fields for any special terms or conditions

”I placed a field in the wrong location”

Section titled “”I placed a field in the wrong location””

Solution:

  • Click on the field to select it
  • Press Delete to remove it
  • Click the recipient’s avatar again to place a new field

Solution:

  • Click on the field to select it
  • Drag the corners or edges to resize
  • Make signature fields at least 200x60 pixels

”I can’t see the field on the document”

Section titled “”I can’t see the field on the document””

Possible causes:

  • The field might be placed off-screen
  • The field color might blend with the document
  • The field might be behind other elements

Solutions:

  • Scroll through all pages to find the field
  • Try placing the field in a different location
  • Ensure the field is on top of other elements

Solutions:

  • Wait a few seconds for auto-save
  • Look for the save indicator (checkmark)
  • Try making a small change to trigger save
  • Refresh the page if issues persist
  • Review the entire document first
  • Identify all locations where signatures are needed
  • Plan the placement strategy
  • Consider the recipient’s workflow
  • Place fields systematically (page by page)
  • Ensure fields don’t overlap with text
  • Make fields large enough for comfortable use
  • Test field placement by scrolling through pages
  • Review all fields before sending
  • Verify each recipient has the required fields
  • Check that fields are properly sized and positioned
  • Ensure no fields are missing or misplaced

Once you’ve placed all necessary fields:

  1. Preview and Send - Review and send the document
  2. Track Completion - Monitor the signing process

Ready to preview and send? Continue with Previewing and Sending.