Sending Documents for Signature
This guide walks you through the complete process of preparing and sending a document for signature using Subnoto.
Overview
Section titled “Overview”The document signature workflow consists of five main steps:
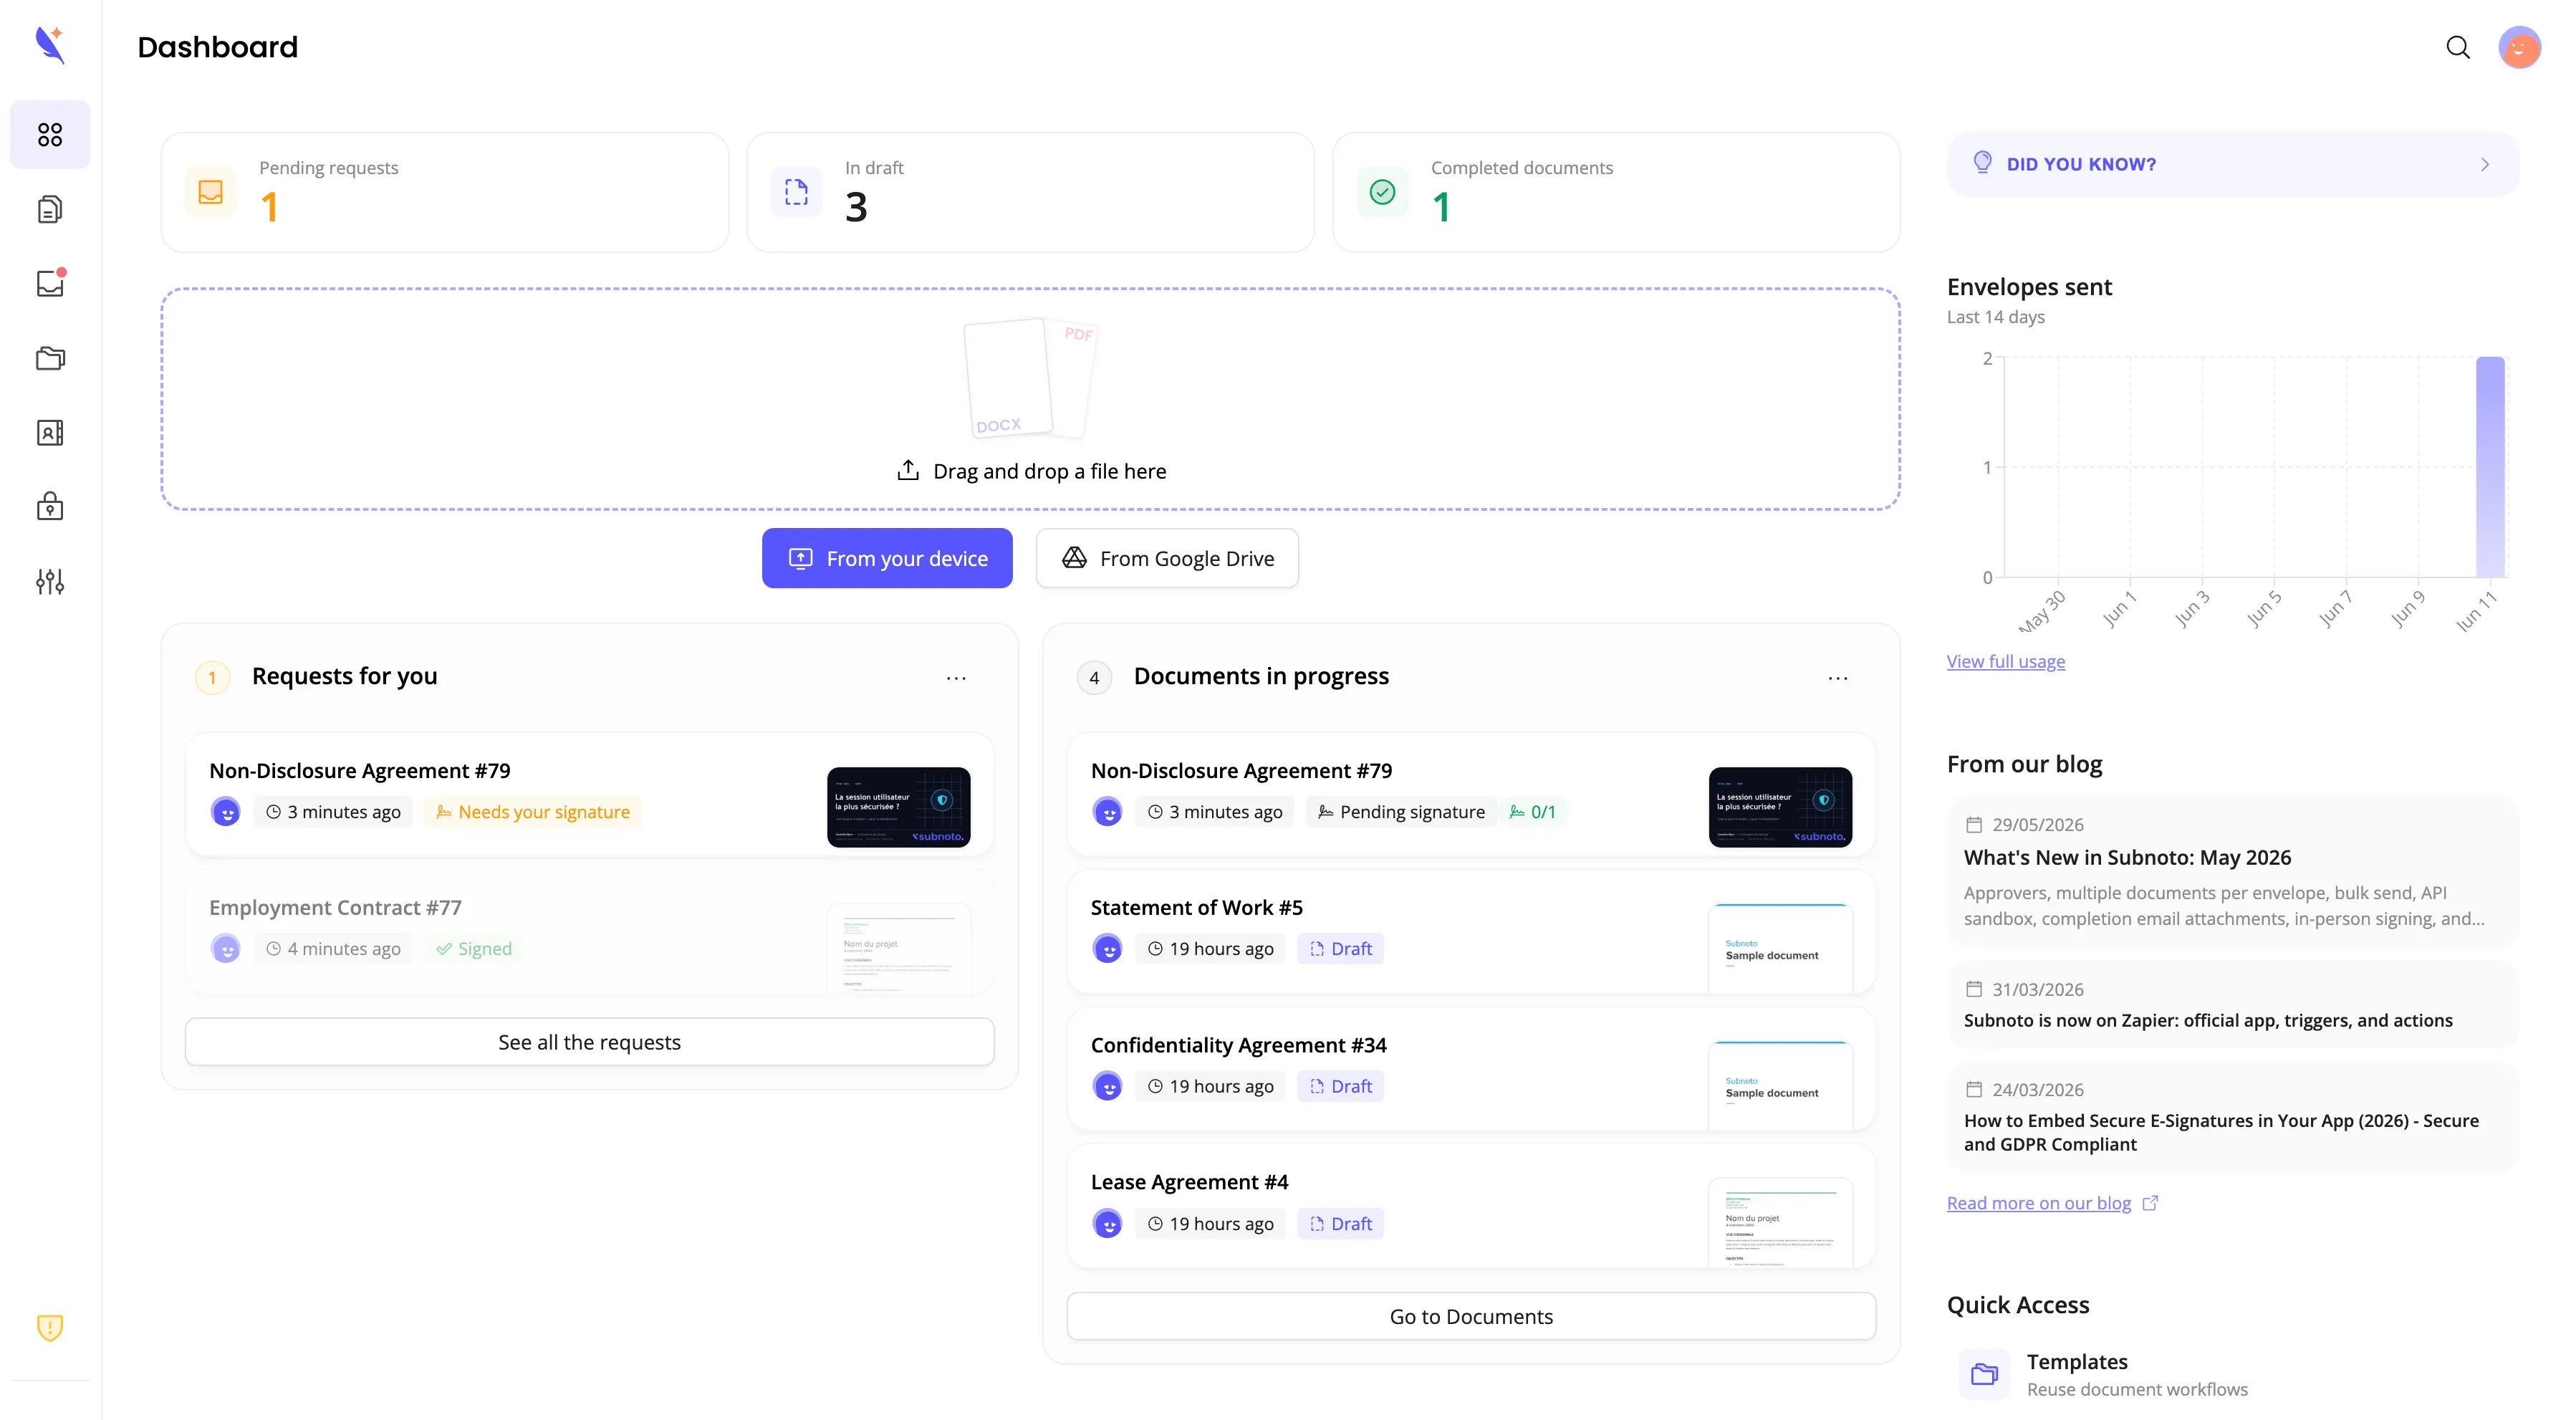
Upload Your Document Get your document into the system
Add Recipients Specify who needs to sign
Place Signature Fields Add signature zones to your document
Preview and Send Review and send the document
Track Completion Monitor the signing process
Sign in Person Sign on behalf of a recipient who is physically present
Templates and Self-service Forms Reuse documents and share self-service signature form links
What You’ll Need
Section titled “What You’ll Need”Before you begin, make sure you have:
- A Subnoto account (create one here)
- A PDF or Word document ready to send
- Email addresses of all recipients who need to sign
Need Help?
Section titled “Need Help?”If you run into any issues:
- Check our troubleshooting section for common problems
- Contact us
- Visit subnoto.com for more information
Ready to get started? Begin with Uploading Documents.