This guide covers everything you need to know about uploading documents to Subnoto for signature.
-
Access the Upload Area
- Log in to your Subnoto account
- You’ll land on the Dashboard page
- The upload area is prominently displayed at the top
-
Choose Your Upload Method
You have three options for uploading documents:
Method 1: Drag and Drop
- Locate your document file on your computer
- Drag the file into the upload dropzone on the dashboard
- Release to start the upload
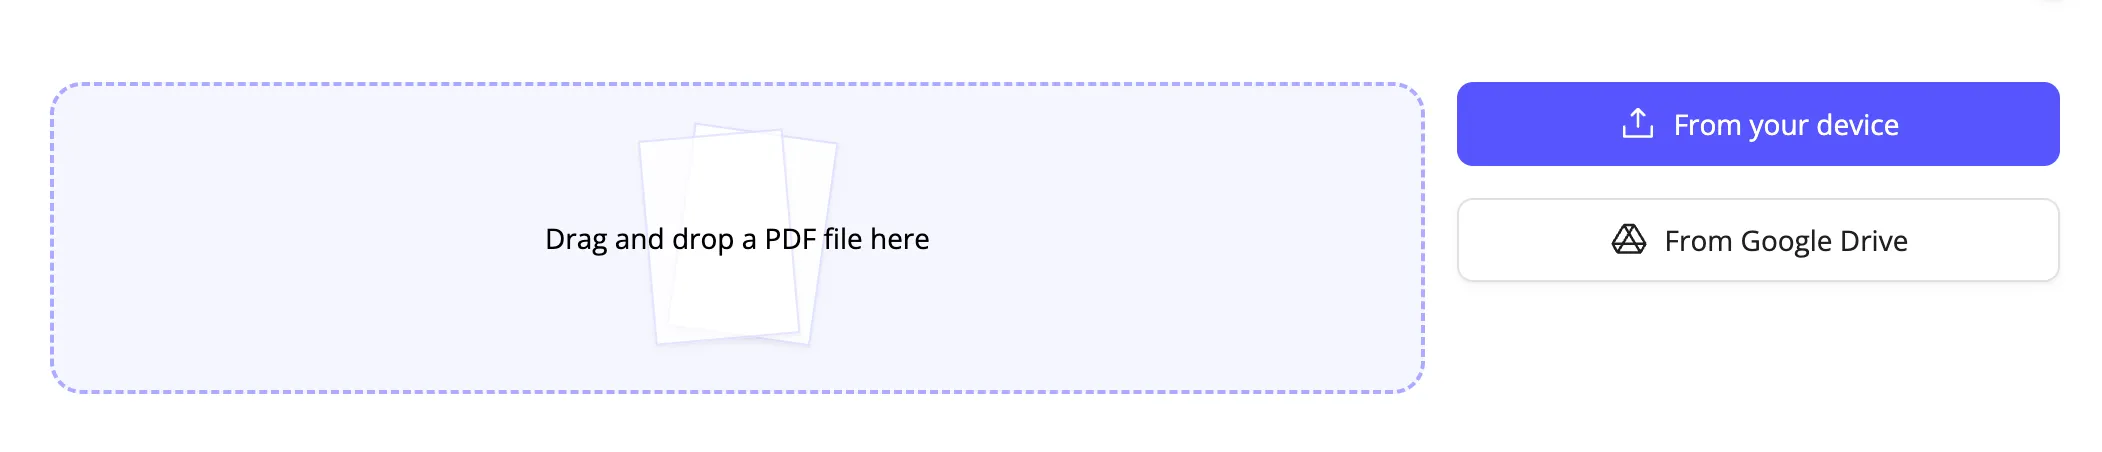
Method 2: Browse Files
- Click the “Upload from Your Computer” button
- Navigate to your document in the file browser
- Select the file and click “Open”
Method 3: Google Drive Import
- Click the “Import from Google Drive” button
- Sign in to your Google account (if not already signed in)
- Select the document from your Google Drive
- The document will be imported directly
-
Wait for Processing
After uploading:
- Your document is securely encrypted
- The filename is converted to a readable title (e.g.,
contract_2024.pdf becomes “Contract 2024”)
- You’re automatically redirected to the Edit Envelope page
- The document will appear in the editor, ready for you to add recipients and signature fields
-
Set Your Document Title
The envelope title appears in email notifications and the envelope list.
- Look for the title field at the top of the page
- Click to edit the auto-generated title
- Enter a clear, descriptive name (e.g., “Employment Agreement - John Doe”)
- The title is automatically saved as you type
Subnoto accepts the following document formats:
PDF Files
PDF files (.pdf) are recommended for best compatibility and quality.
Word Documents
Word documents (.docx) are automatically converted to PDF before processing.
- Maximum file size: 50MB recommended
- Large files may take longer to process
- Remove any password protection from PDFs before uploading
- Ensure the document is final - changes cannot be made after sending
Possible solutions:
- Ensure the file is PDF or DOCX format
- Check that the file isn’t password protected
- Verify the file size is reasonable (under 50MB recommended)
- Try a different browser if issues persist
Solutions:
- Large files naturally take longer to process
- Check your internet connection
- Try uploading during off-peak hours
- Consider compressing the PDF if it’s very large
This is normal when:
- Uploading Word documents (they’re converted to PDF)
- The document had complex formatting
- Images or fonts aren’t embedded properly
Solutions:
- Upload the original PDF if available
- Check that all fonts are embedded in the PDF
- Ensure images are properly embedded
Once your document is uploaded and titled:
- Add Recipients - Specify who needs to sign
- Place Signature Fields - Add signature zones
- Preview and Send - Send for signature
Ready to add recipients? Continue with Adding Recipients.