Signers
Must sign the document at the assigned signature fields
This guide covers how to add recipients to your document and manage their information.
Recipients are the people who need to sign or review the document. Each recipient will receive an email invitation with a secure link to access and sign the document.
Open the Add Recipient Panel
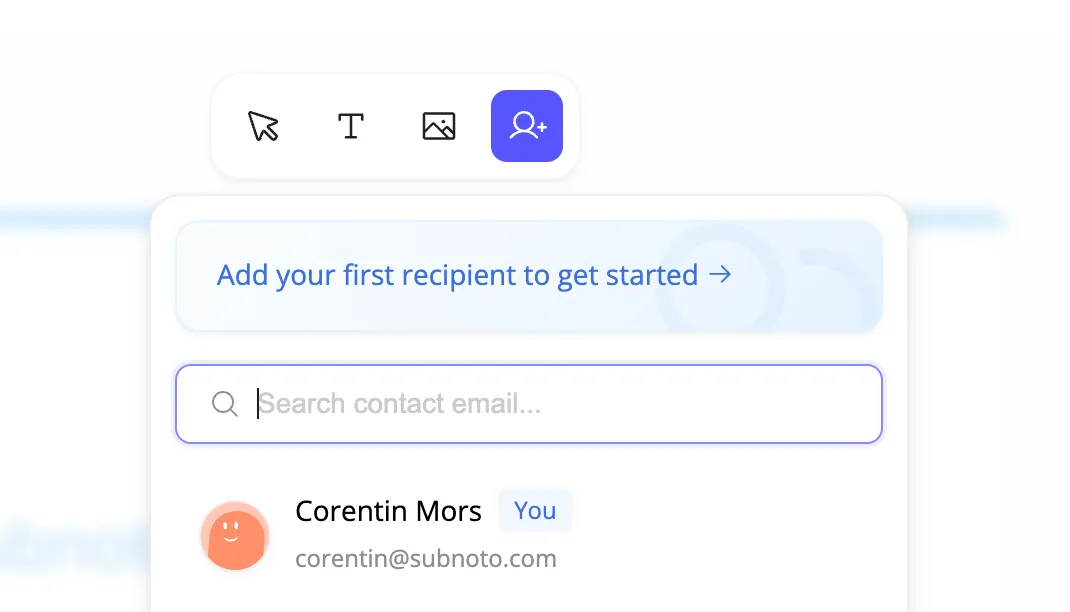
Enter Recipient Information
Required:
Recommended:
Add from Contacts or Create New
Adding from Contacts:
Creating New Recipients:
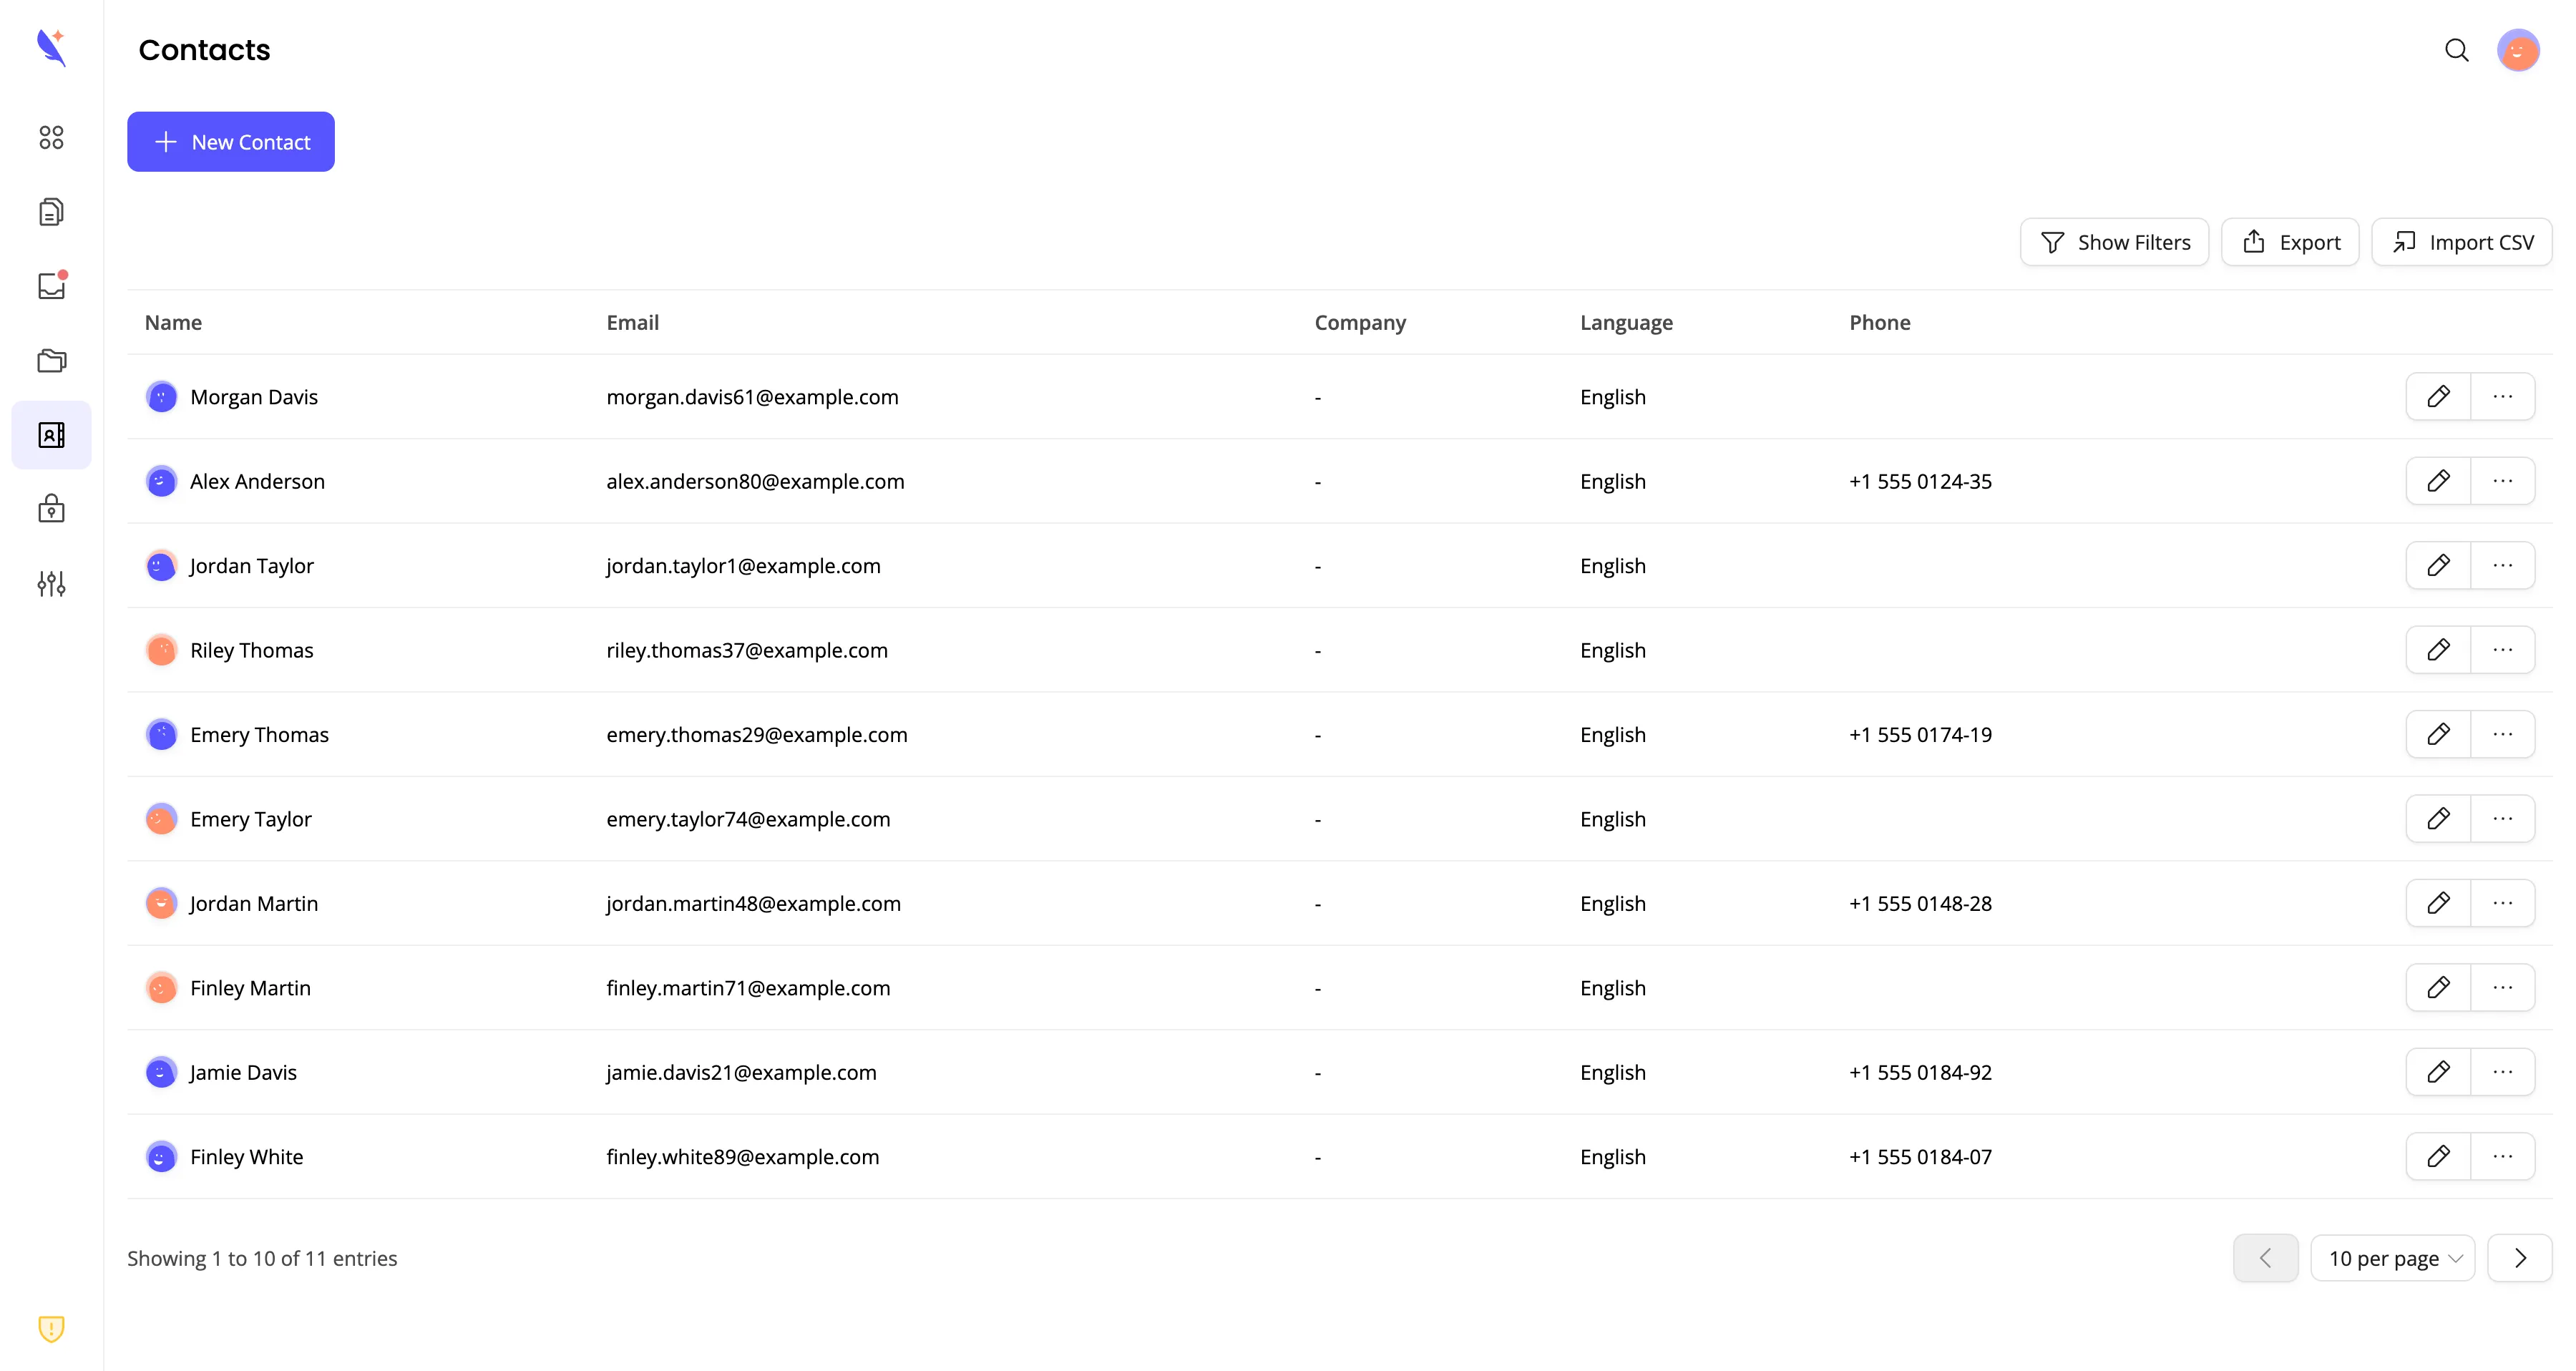
Reuse donor, volunteer, and partner details across envelopes from the Contacts page.
email, firstname, lastname, and optional phone columns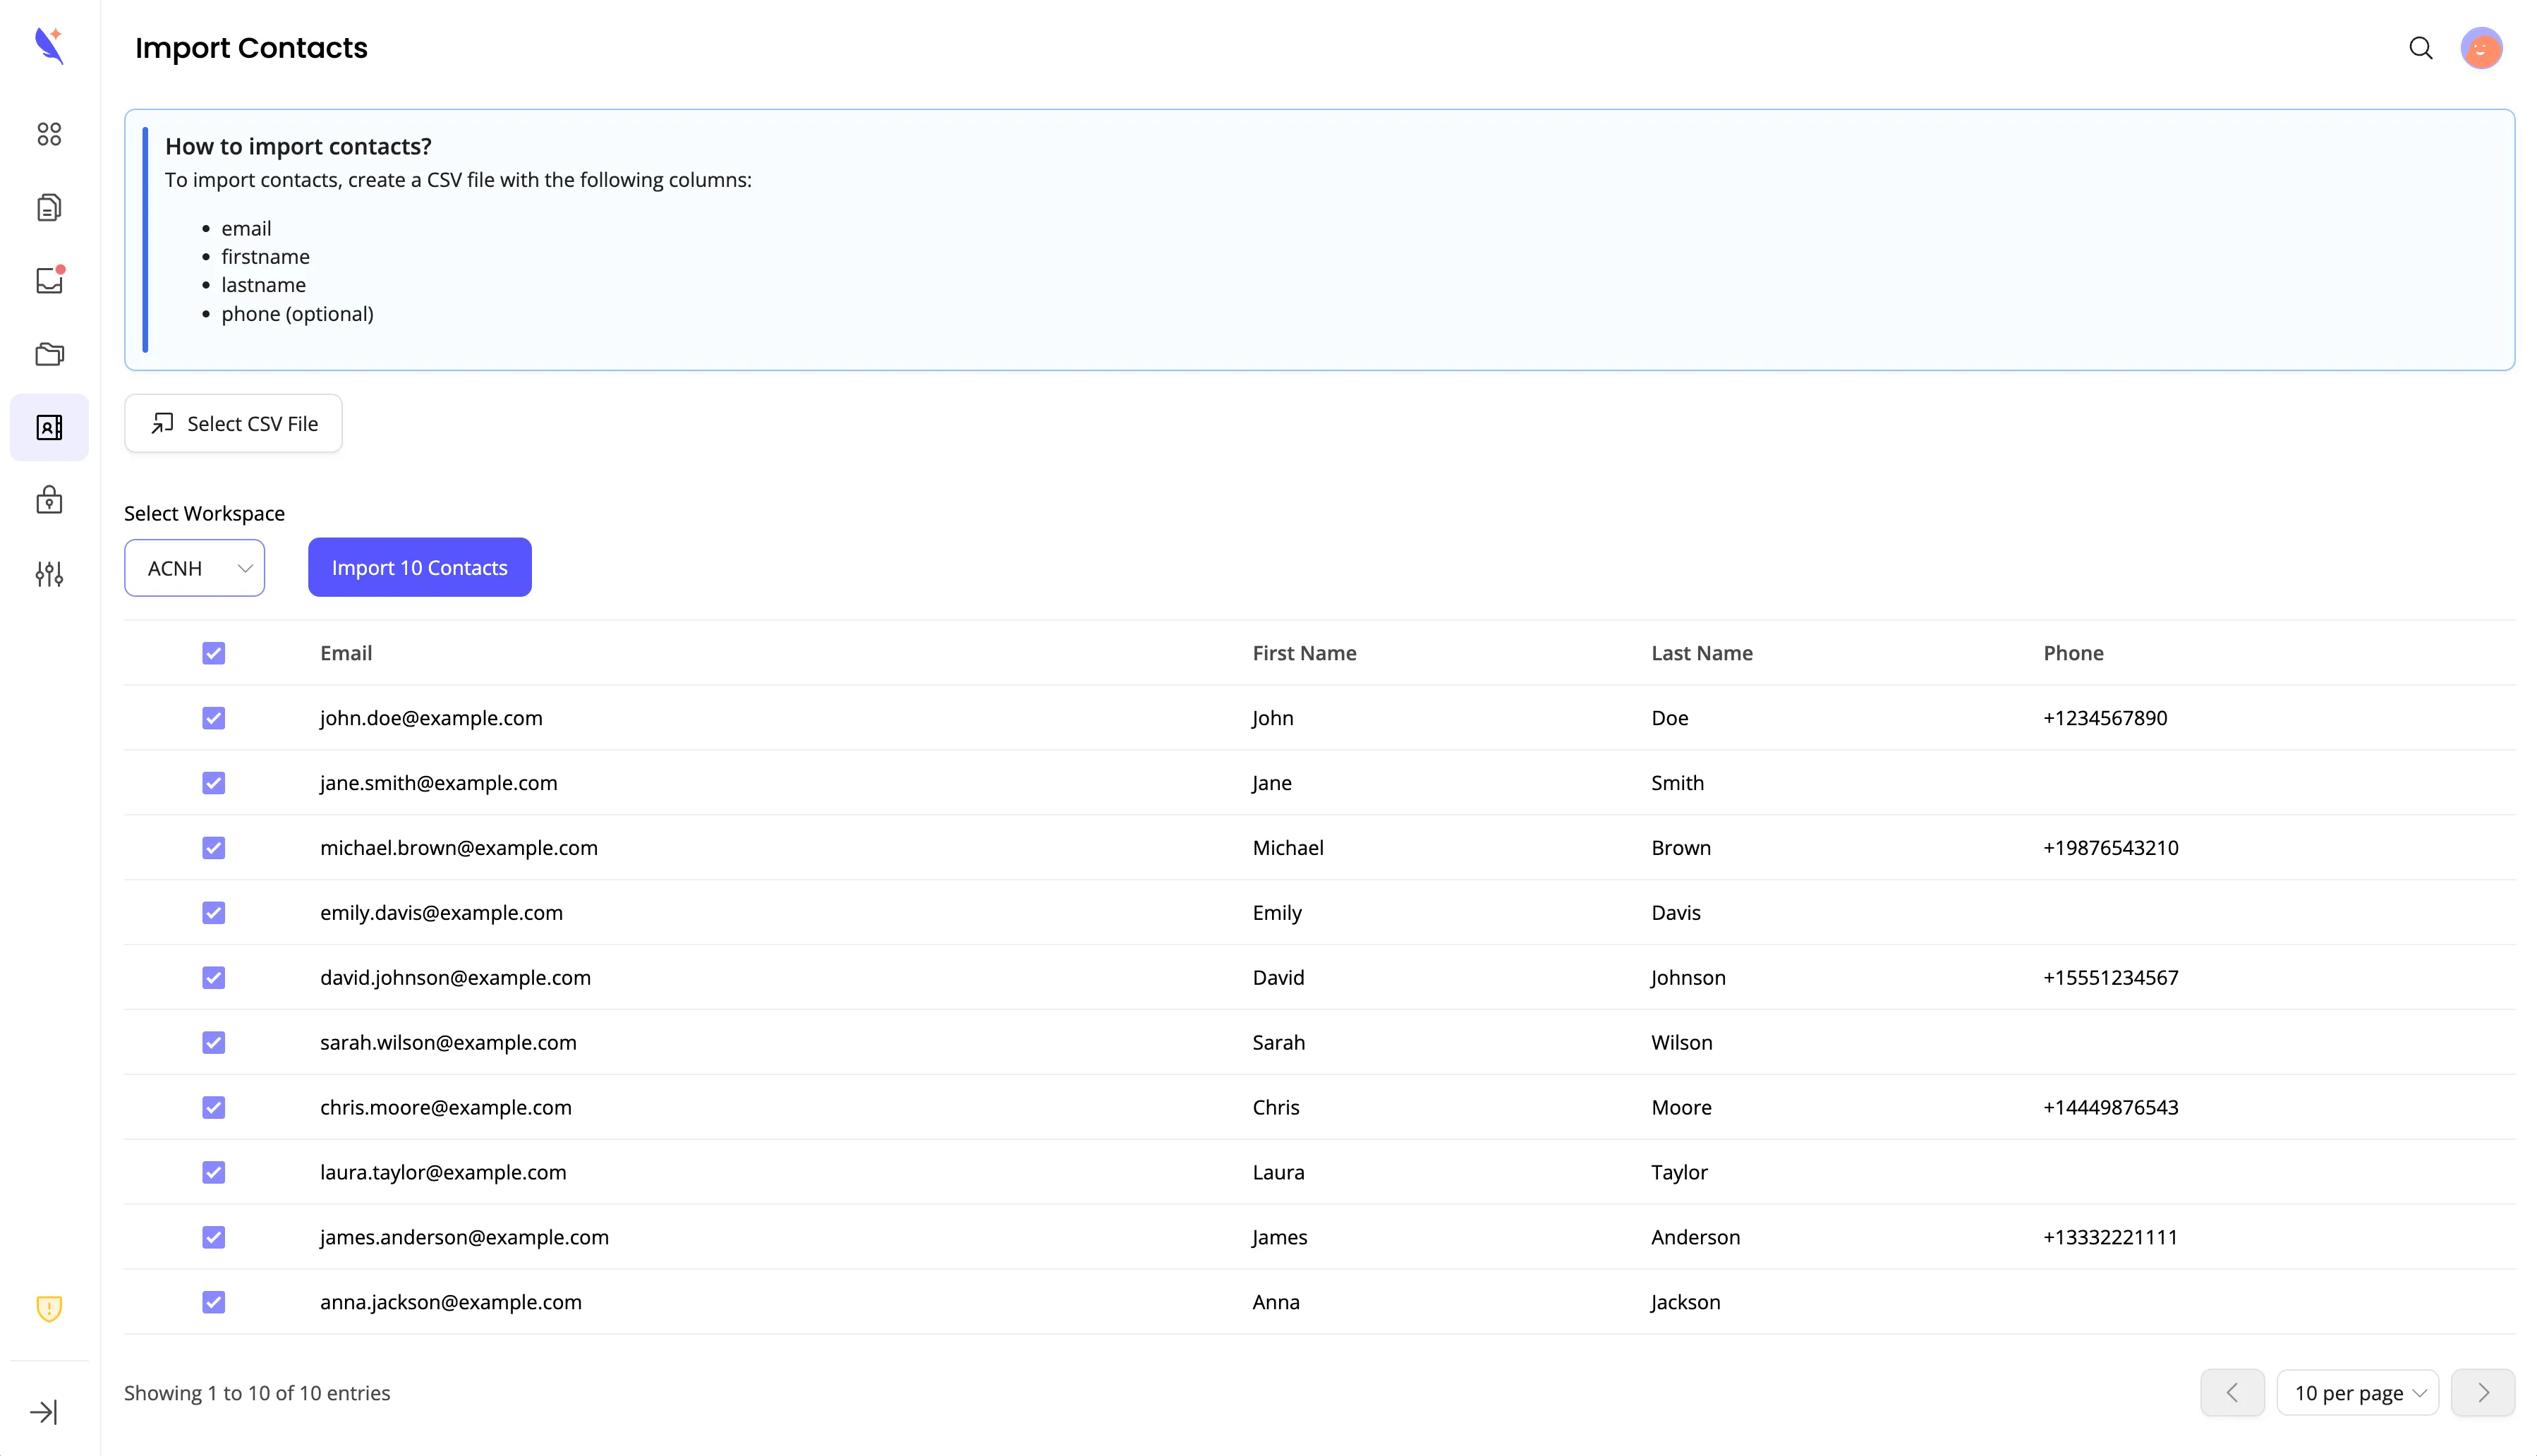
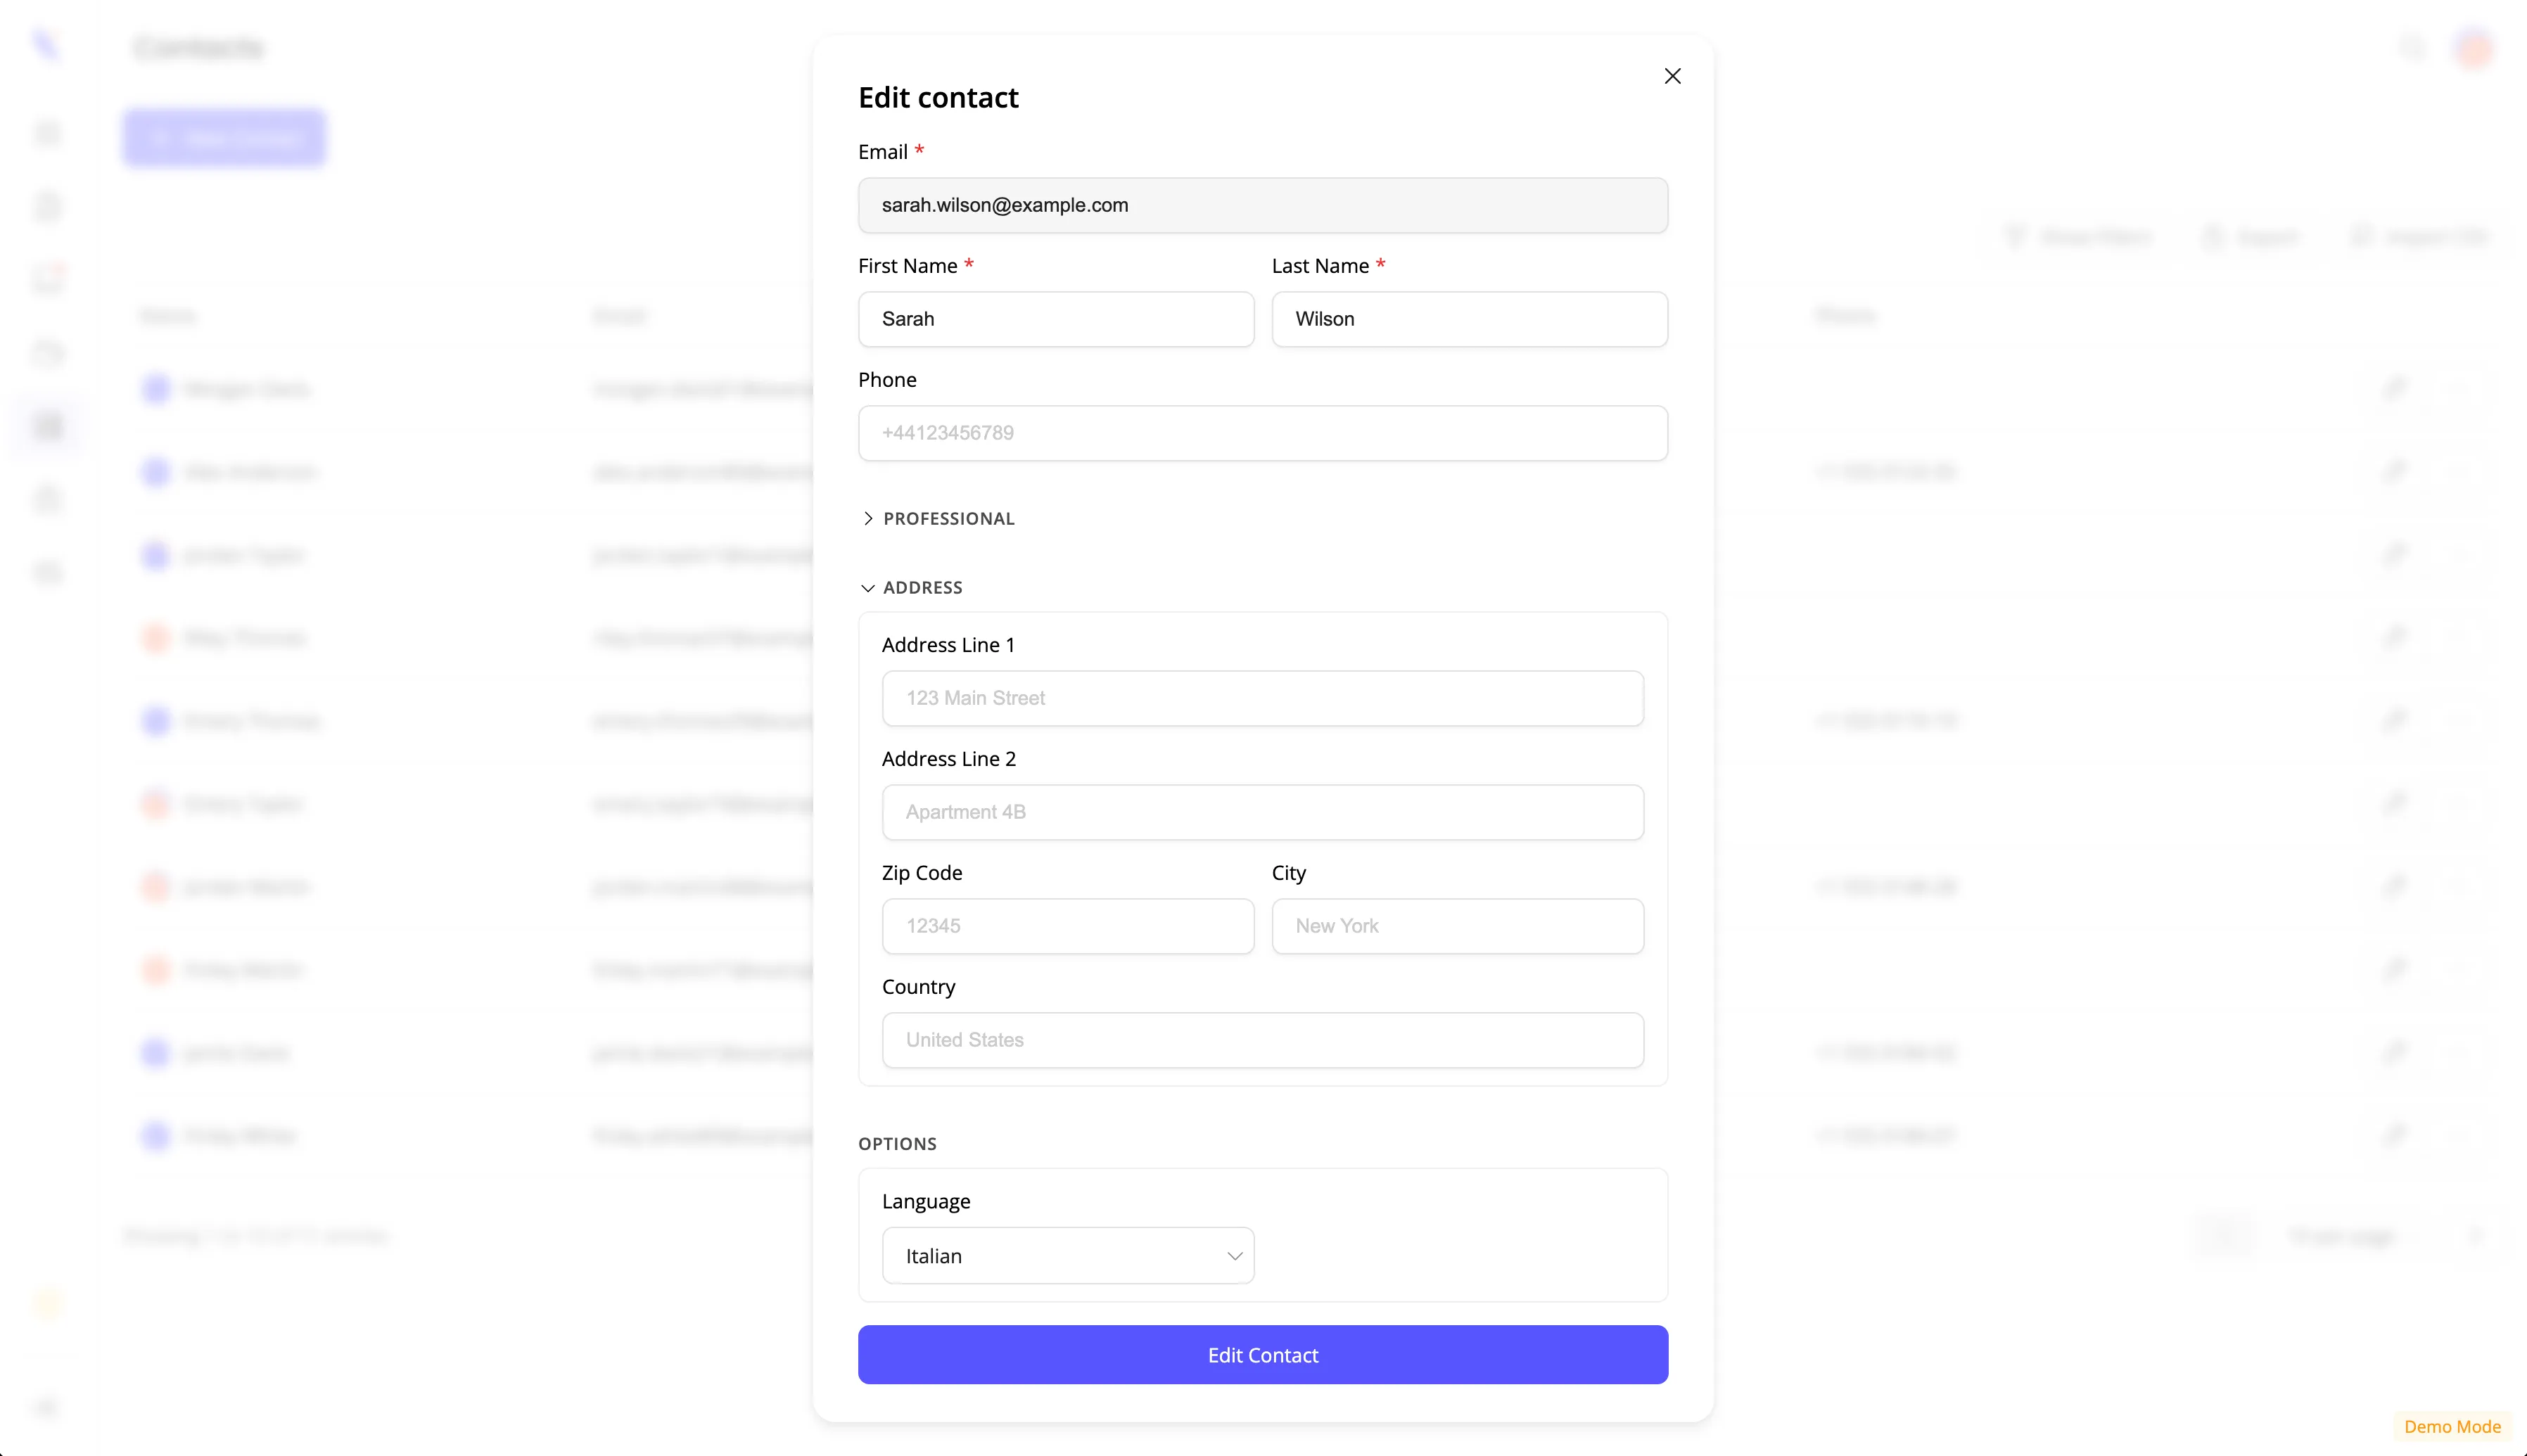
Click Edit on any row to update name, email, company, language, or phone.
To change the signing order:
Each recipient has a role that defines what they must do on the envelope:
Signers
Must sign the document at the assigned signature fields
Approvers
Review the document and approve or decline before signers are invited
Viewers
Observe the signing process without signing or approving
When an envelope has at least one approver, it enters an approving phase after you send it. Approvers receive an invitation to review the document and approve or decline. Once every approver has approved, the envelope moves to the signing phase and signers receive their invitations.
Envelopes with no approvers go straight to the signing phase.
Signers and approvers are managed in separate sections of the edit sidebar:
You can add multiple approvers and reorder them by drag and drop, just like signers.
Every envelope must have at least one signer. You cannot send an envelope with approvers only.
When signature order is enabled on the envelope, routing order applies separately within each group:
Use drag and drop in the sidebar to reorder recipients within each section (see Reordering Recipients above).
The same email address can appear twice on one envelope: once as an approver and once as a signer. Each row is a separate participant with its own invitation and status.
If you send envelopes via the API, only signer recipients consume API credits (one credit per signer). Approver and viewer rows do not consume API credits.
Troubleshooting:
Solution:
Solution:
Once you’ve added all recipients:
Ready to place signature fields? Continue with Placing Fields.