Creating Your Account
Getting started with Subnoto is quick and easy. All you need is an email address to create your account and start sending documents for signature.
What You’ll Need
Section titled “What You’ll Need”- A valid email address
- Access to your email inbox (to receive verification codes)
- (Recommended) A device with passkey support (for enhanced security)
-
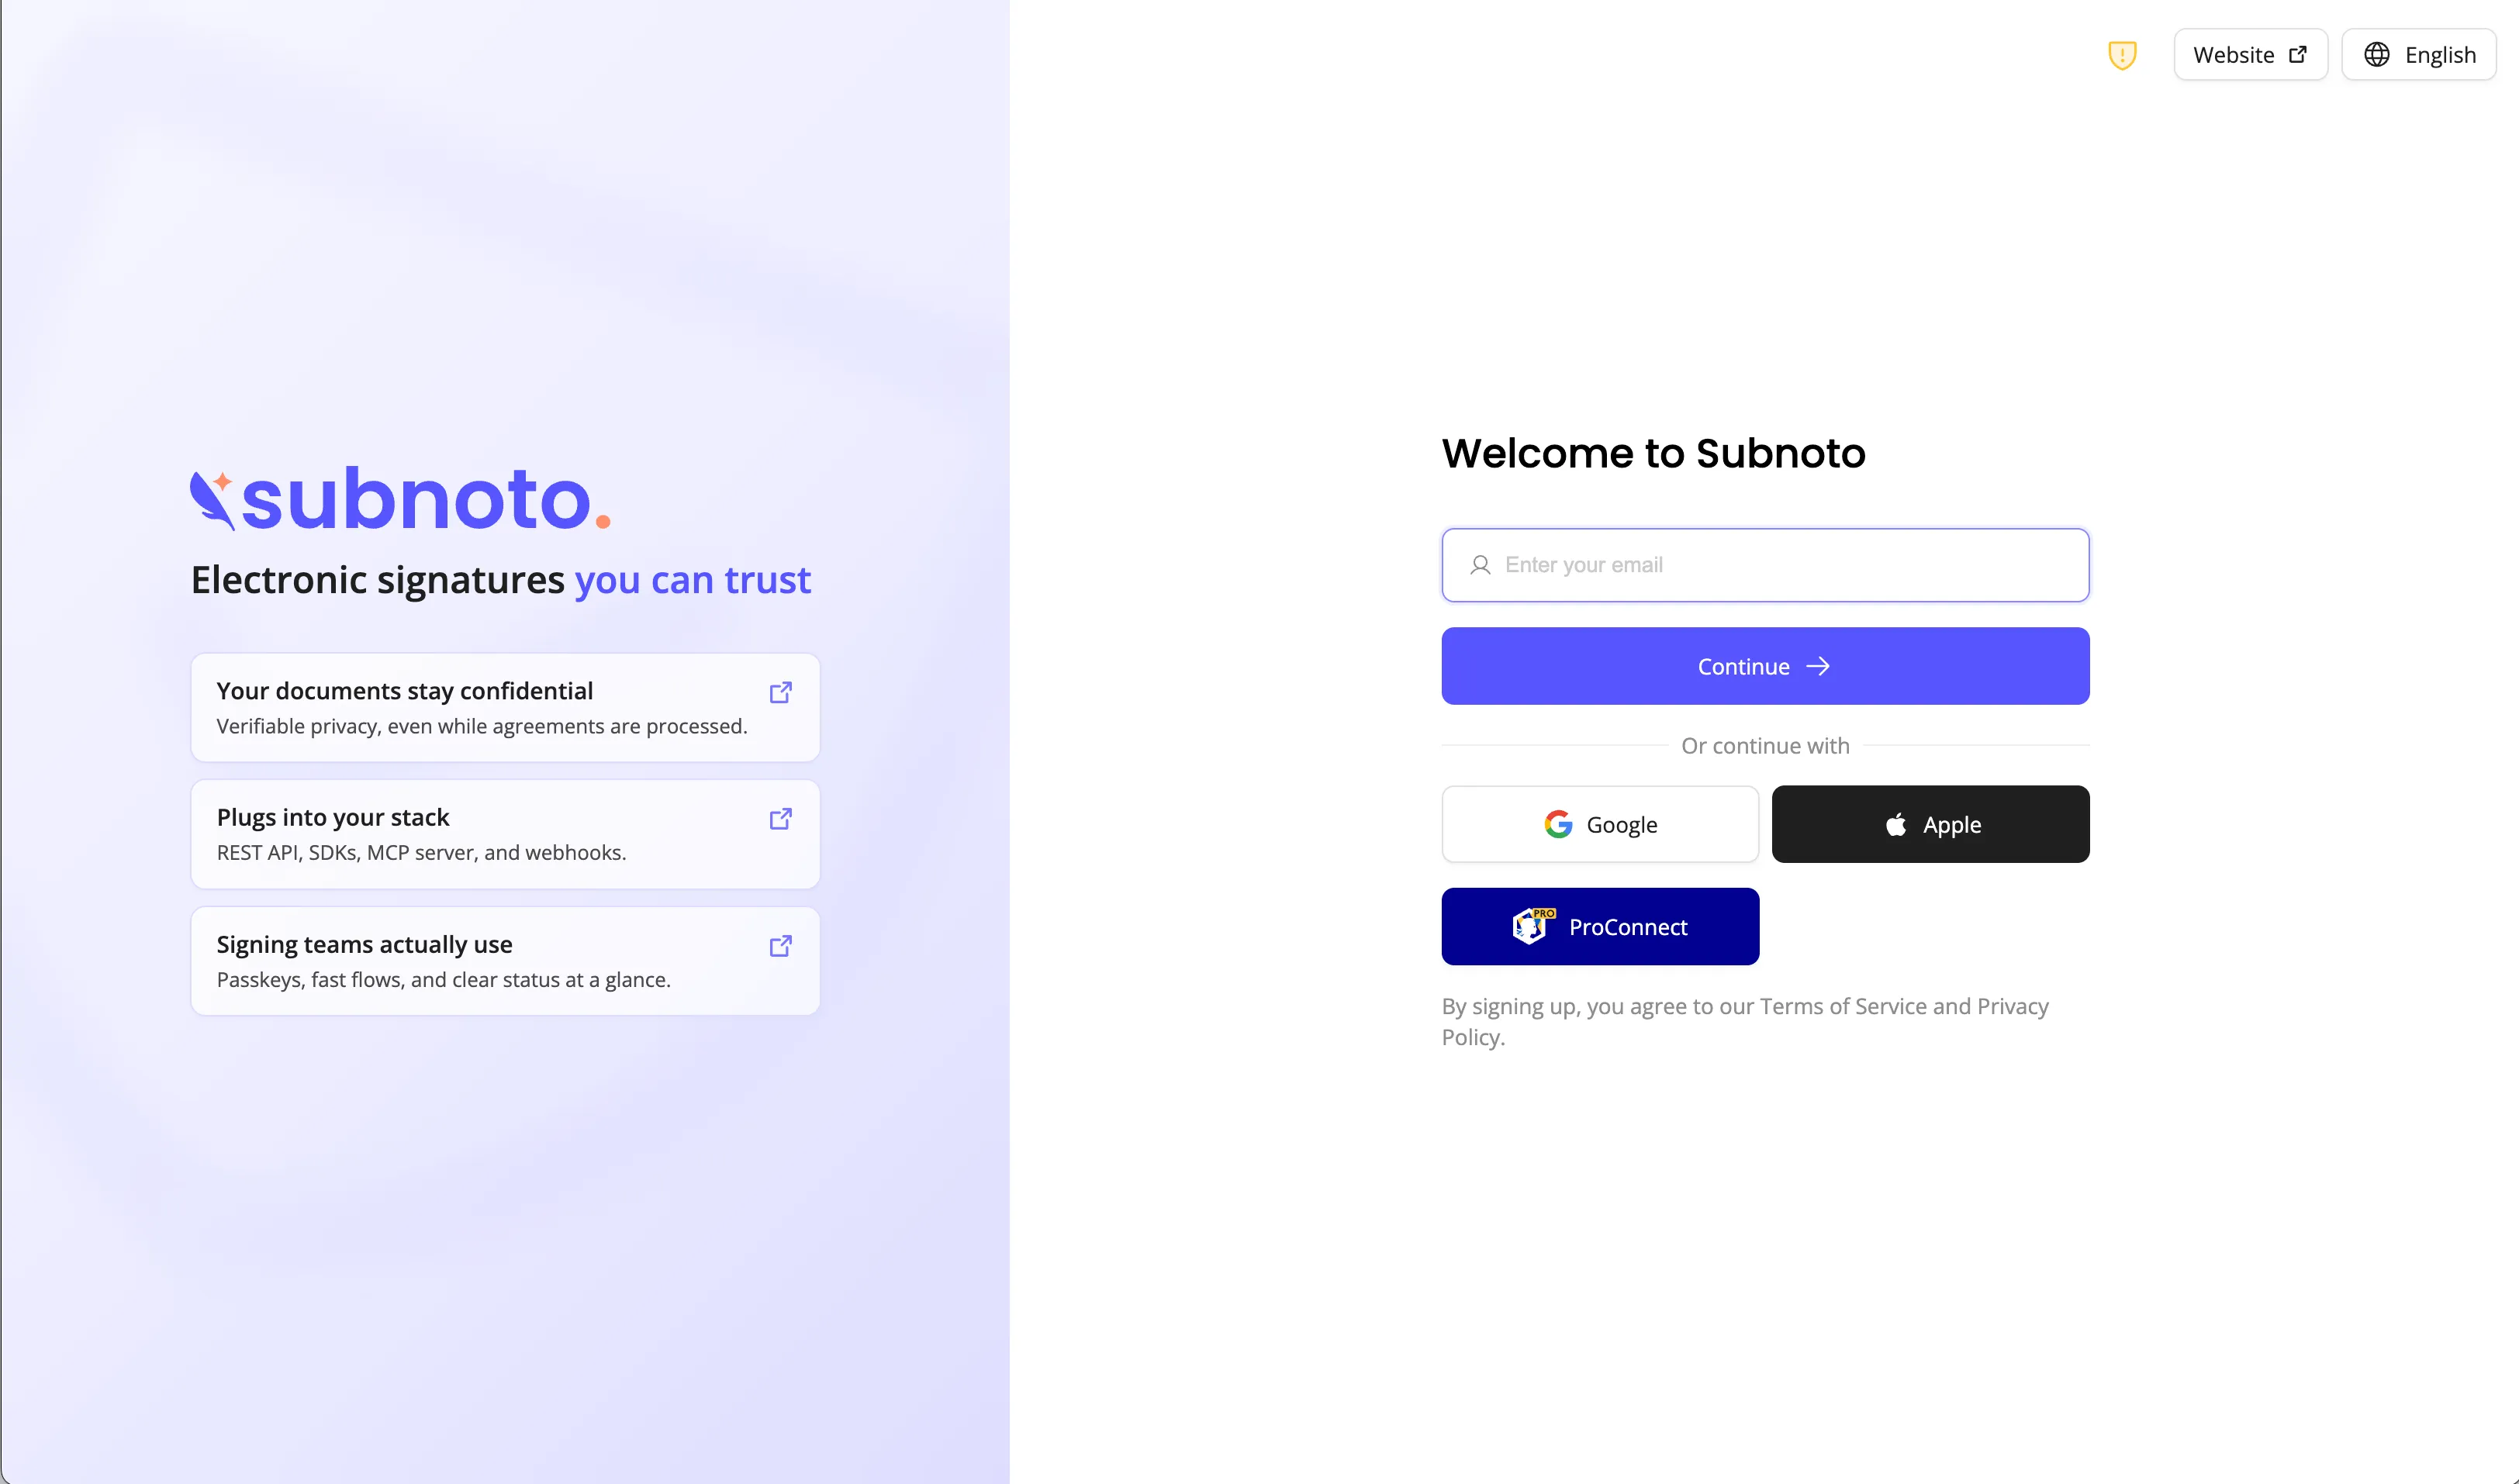
Navigate to the Login Page
Go to app.subnoto.com and you’ll see the login screen.
-
Enter Your Email Address
Enter your email address in the provided field and click the “Continue with Email” button.
-
Choose Your Authentication Method
Subnoto offers several authentication methods:
Pro Connect
If your organization uses Pro Connect, check the eligibility rules before signing in: Pro Connect login eligibility.
Apple Login
If you prefer Apple sign-in, review the quick guide: Apple login.
Google Login
If you prefer Google sign-in, review the quick guide: Google login.
Passkey Authentication (Recommended)
If you’ve previously registered a passkey, your browser will prompt you to authenticate using:
- Face ID / Touch ID (on Mac/iPhone)
- Windows Hello (on Windows)
- Fingerprint or device PIN (on Android)
Simply follow your device’s prompt to authenticate. For setup steps and details, see Passkey login.
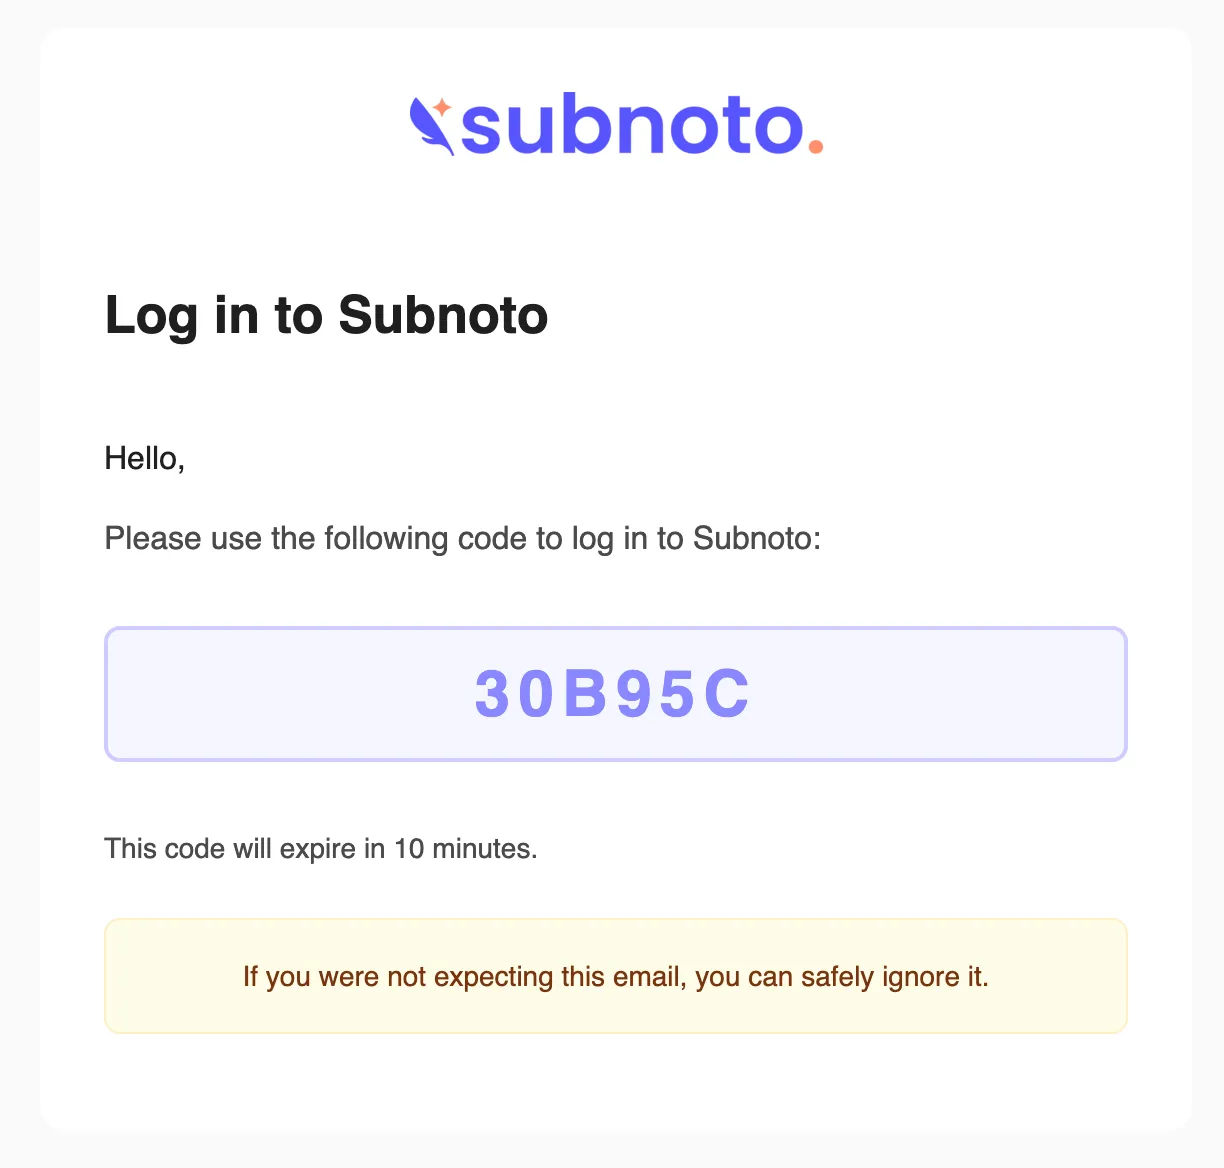
Email Verification Code
If you don’t have a passkey registered (or if passkey authentication fails), you’ll receive a 6-character verification code via email.
- Check your email inbox for a message from Subnoto
- Copy the 6-character hexadecimal code (contains numbers 0-9 and letters A-F)
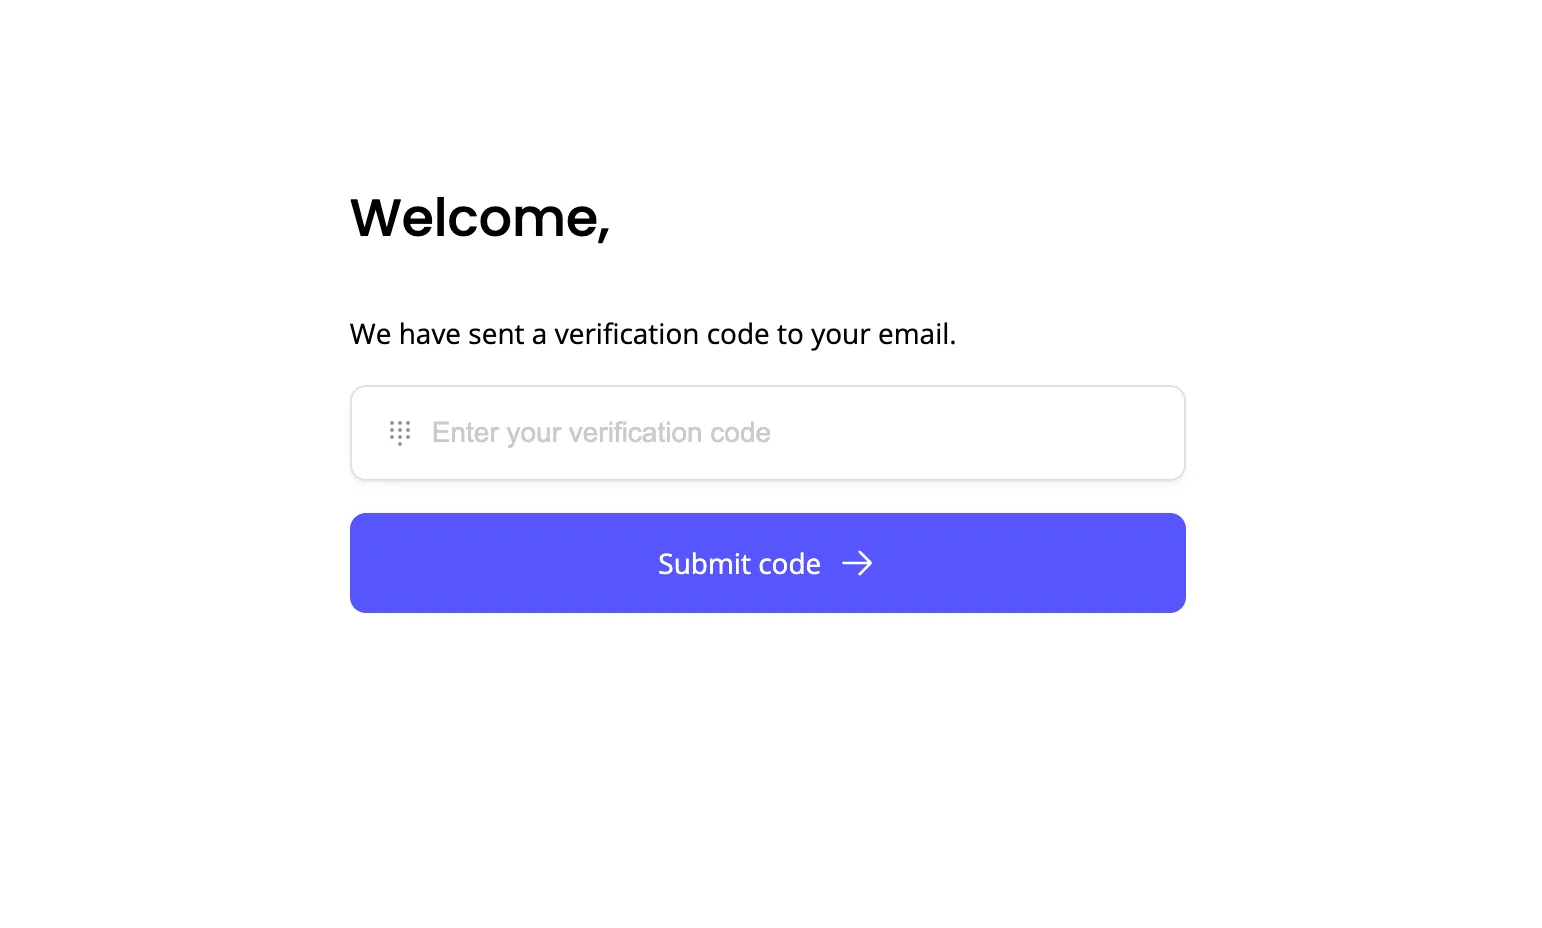
- Enter the code in the verification field
- The code will auto-submit when all 6 characters are entered
-
Create Your Team Profile (New Users Only)
If this is your first time using Subnoto, you’ll need to set up your profile and team:
Required Information:
- First Name (required) - Your given name, used in email notifications to recipients
- Last Name (required) - Your family name, used in email notifications to recipients
- Team Name (optional) - The name of your organization or team. If left blank, defaults to your full name (e.g., “John Smith”). Must be at least 3 characters if provided. This name appears as the sender when you send documents.
Alternative: Join an Existing Team
If someone has invited you to join their team:
- Click “Join Existing Team” instead of filling out the form
- Enter the team invitation details
- You’ll be added to their workspace
-
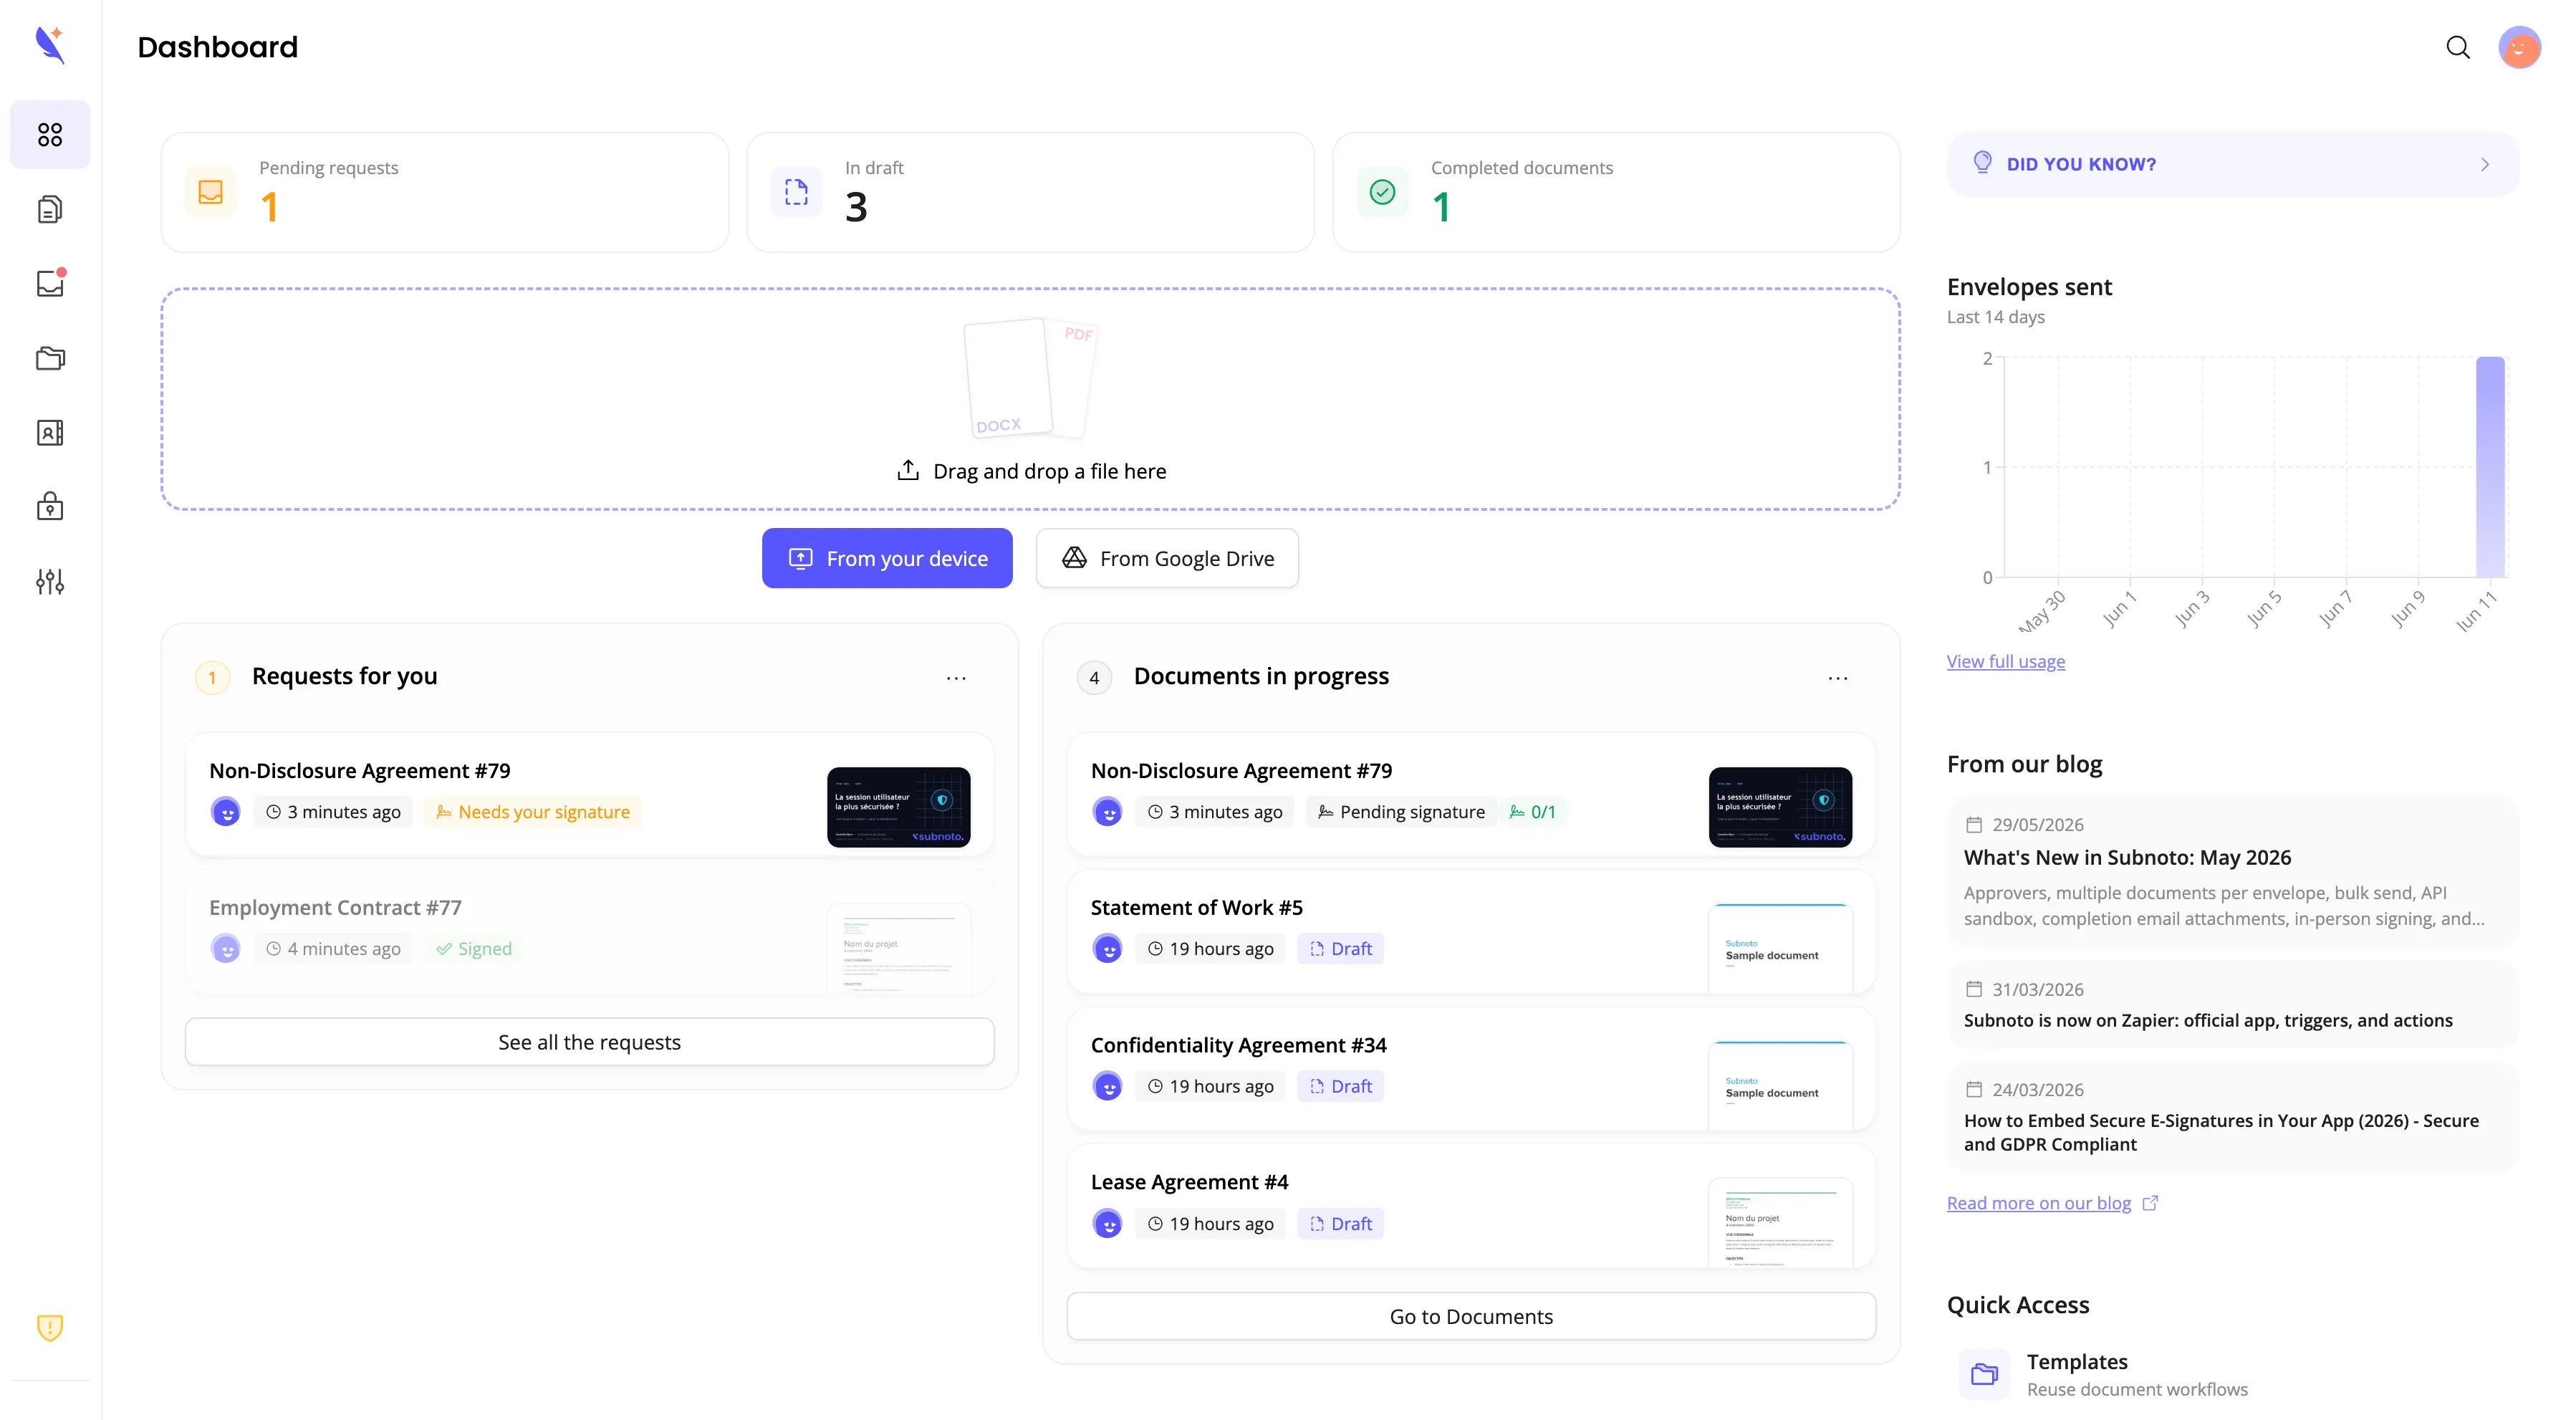
Access Your Dashboard
After completing setup, you’ll be redirected to your dashboard where you can:
- Upload and send documents for signature
- Manage your envelopes
- Add and organize contacts
- Configure team settings
Next Steps
Section titled “Next Steps”Now that your account is set up, you’re ready to:
- Send your first document for signature
- Add team members to your workspace
- Import contacts for quick recipient selection
- Explore template creation for frequently used documents
Troubleshooting
Section titled “Troubleshooting”- Check your spam/junk folder
- Wait a few minutes - emails can sometimes be delayed
- Click “Continue with Email” again to request a new code
- Make sure you’re entering all 6 characters correctly
- Codes are case-sensitive (though usually displayed in uppercase)
- Request a new code if the old one has expired
- Ensure your device supports passkeys (most modern devices do)
- Check that your browser is up to date
- You can skip this step and use email authentication instead
You can update your team name later in Settings > Profile after logging in.
Security & Privacy
Section titled “Security & Privacy”- Your account uses end-to-end encryption for all documents
- Passkeys are stored securely on your device, never on our servers
- All authentication attempts are logged for your security
- You can review active sessions in your account settings
Need Help? Contact us or visit subnoto.com for more information.